
Manage workspace settings
Workspace settings control your workspace name, logo, and website URL. These details appear in your help center and across Ferndesk.
Workspace settings affect everyone on your team. Your personal account settings like profile, notifications, and security are separate. See Manage account settings for personal preferences.
Edit workspace details
Open Settings
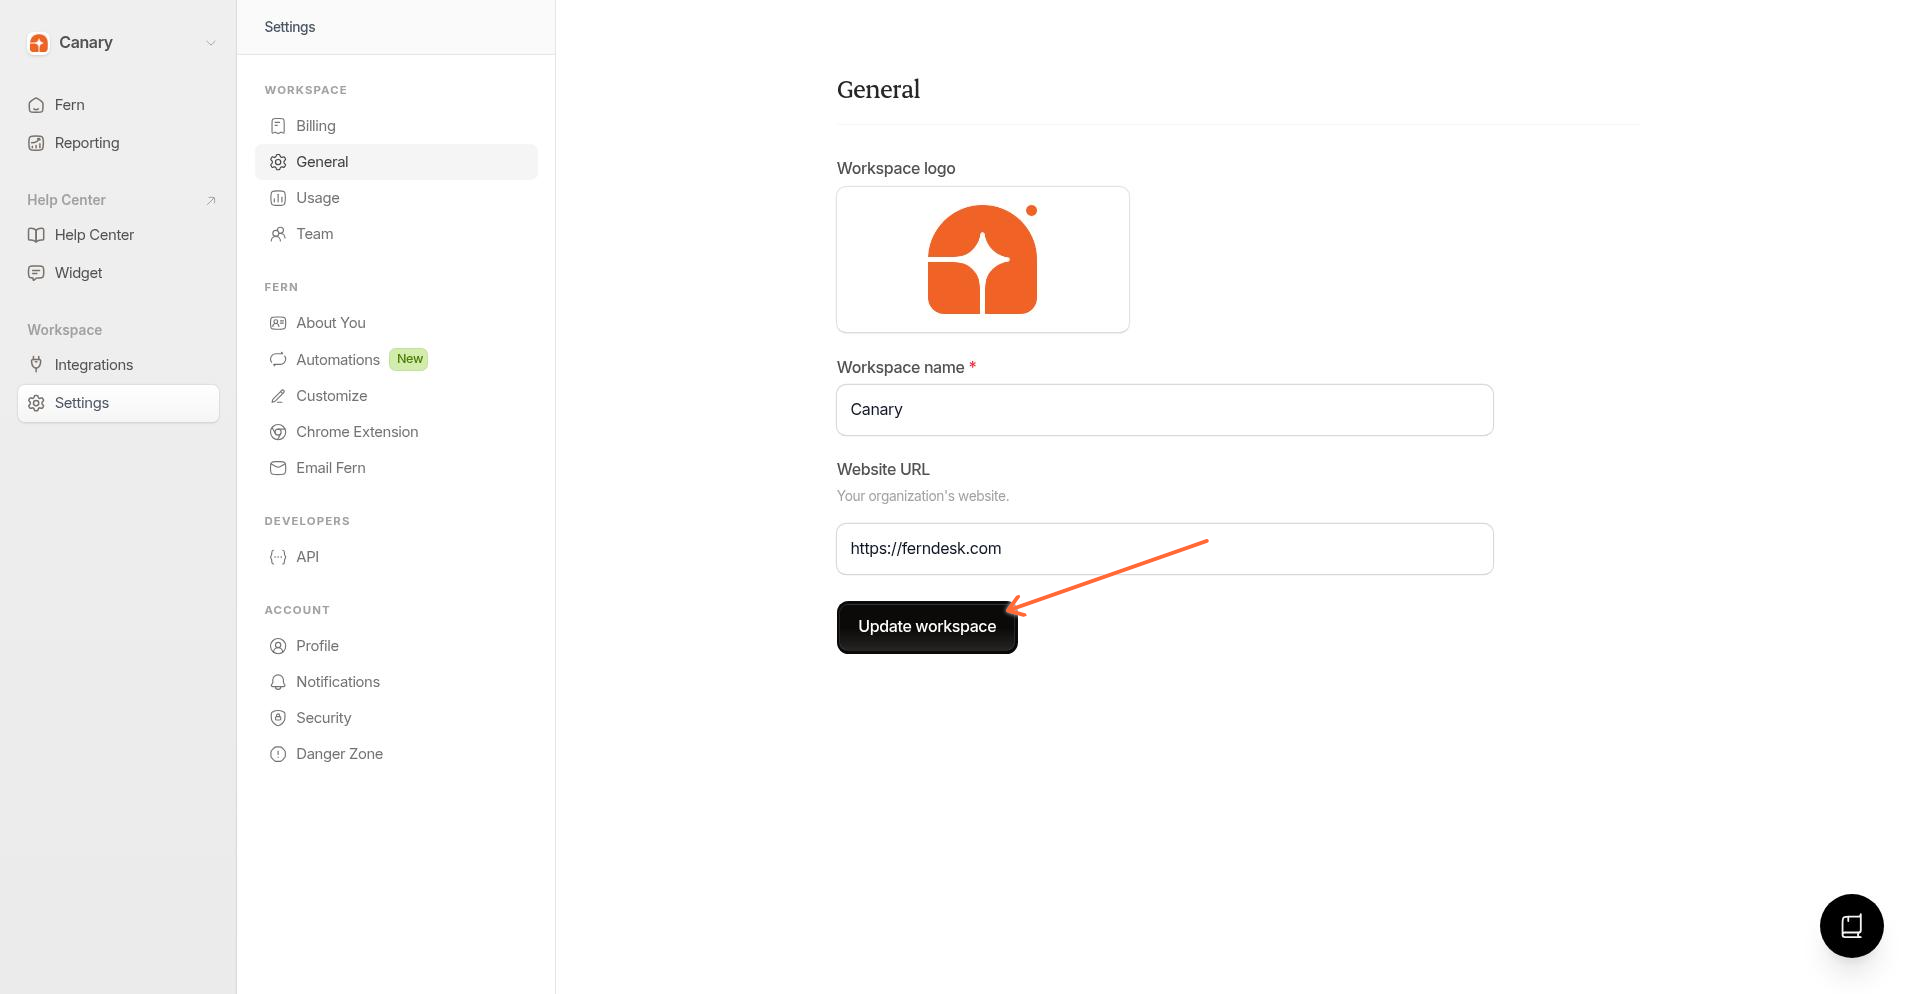
Click Settings in the dashboard sidebar, then select General from the settings menu.
Update workspace details
Update your workspace name, upload a logo, or change your website URL. The workspace name appears in your workspace switcher and help center. The website URL helps Ferndesk match your help center branding.
Save your changes
Click Update workspace to save.
Your help center has its own logo settings with separate light and dark mode variants. Configure help center logos from Help Center > Customize. See How to customize your help center.
Other workspace settings
From the Settings menu, you can also access:
Billing to view your plan and manage payment for the billing account that covers this workspace. See How billing accounts work.
Usage to view publish credits usage and translation language balances for the billing account.
Team to invite collaborators and manage access. See How to invite team members.
Export Data to download a ZIP archive of your help center content. See Export your help center data.
Workspace vs account settings
Settings in Ferndesk are organized by scope:
Workspace settings apply to everyone in that workspace. This includes name, logo, team members, integrations, and help center content.
Billing account settings apply across all workspaces covered by the same billing account. This includes plan, payment method, invoices, and usage credits.
Account settings are personal to you. This includes your profile, email preferences, and security options.
When you switch workspaces, your workspace settings change, but your personal account settings stay the same.