
Setting up Help Scout with Ferndesk
This guide shows you how to configure Ferndesk to open the Help Scout Beacon when visitors click the contact button in your widget.
Before you begin: You must have the Help Scout Beacon installed on your site with the button style set to Hidden. If you haven't done this yet, follow the steps below before configuring Ferndesk.
Step 1: Install and hide the Help Scout Beacon
First, make sure the Help Scout Beacon is installed on your site. In your Help Scout account, go to Manage > Beacons, select your Beacon, and click Edit Beacon.
Under Button style, select Hidden. This prevents the Beacon from showing by default. Ferndesk will open it when visitors click your contact button.
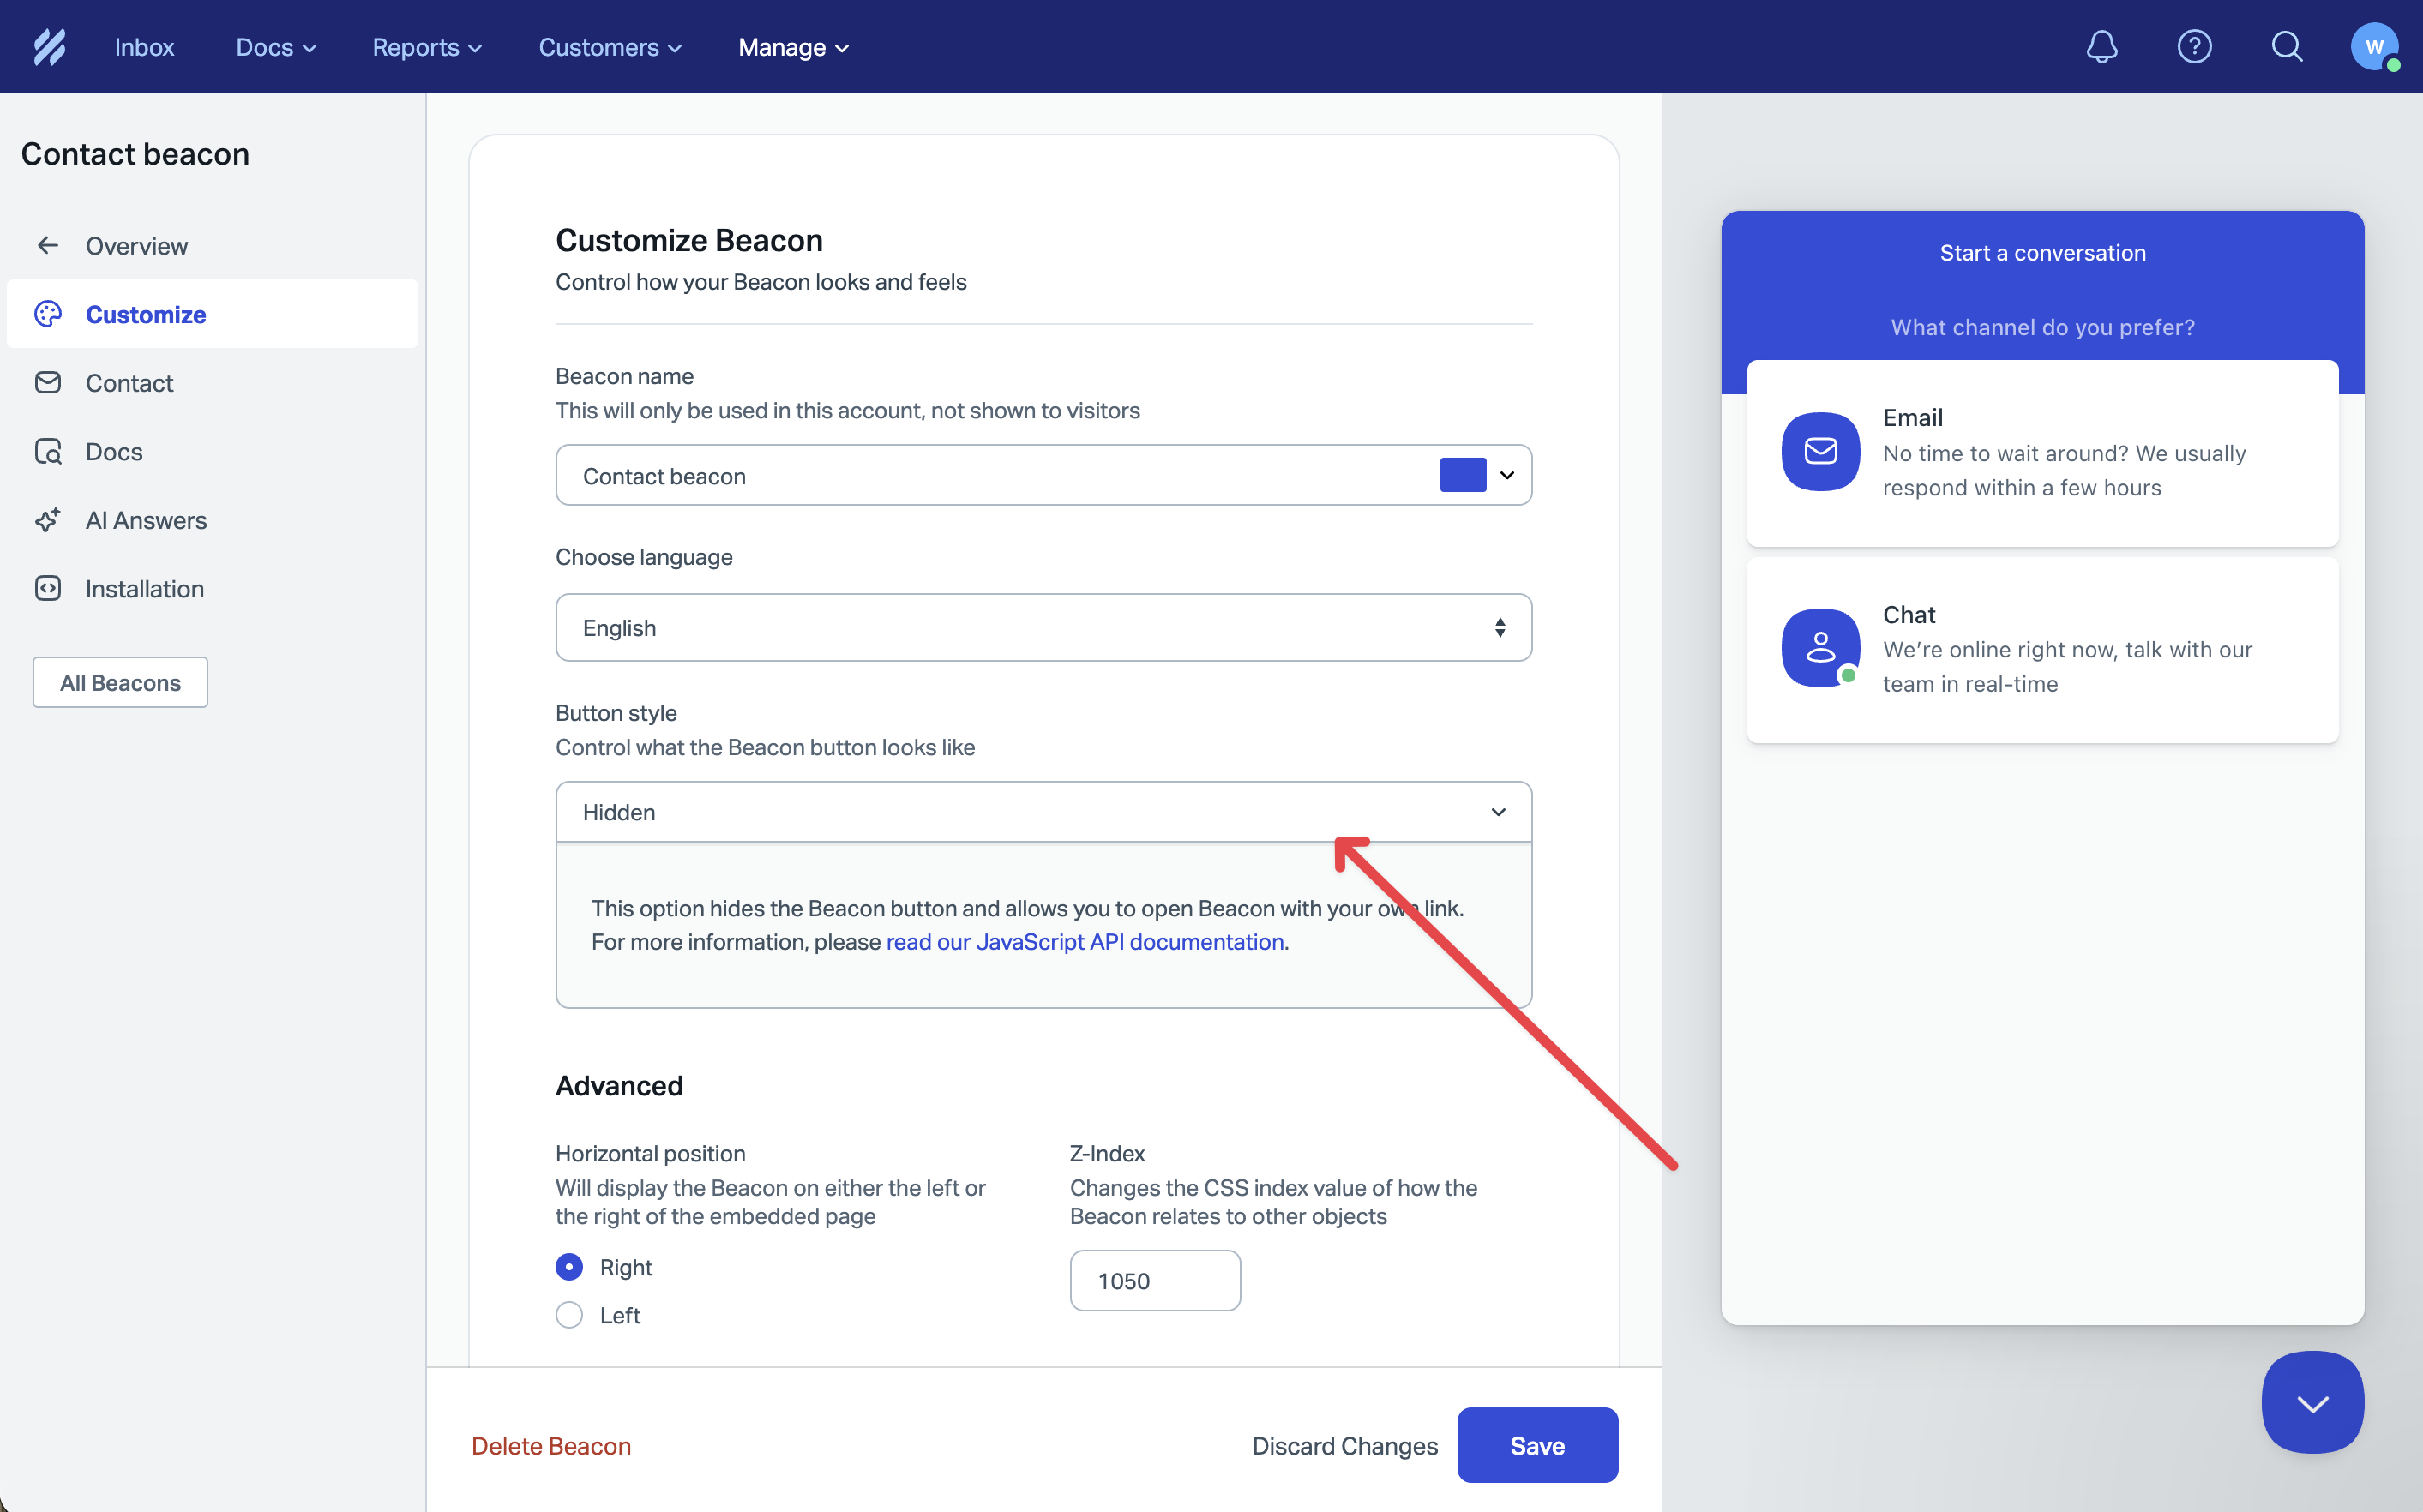
Copy your Beacon installation code and add it to your site's <head> section or before your Ferndesk widget script.
Need help installing the Beacon? See Help Scout's Beacon installation guide.
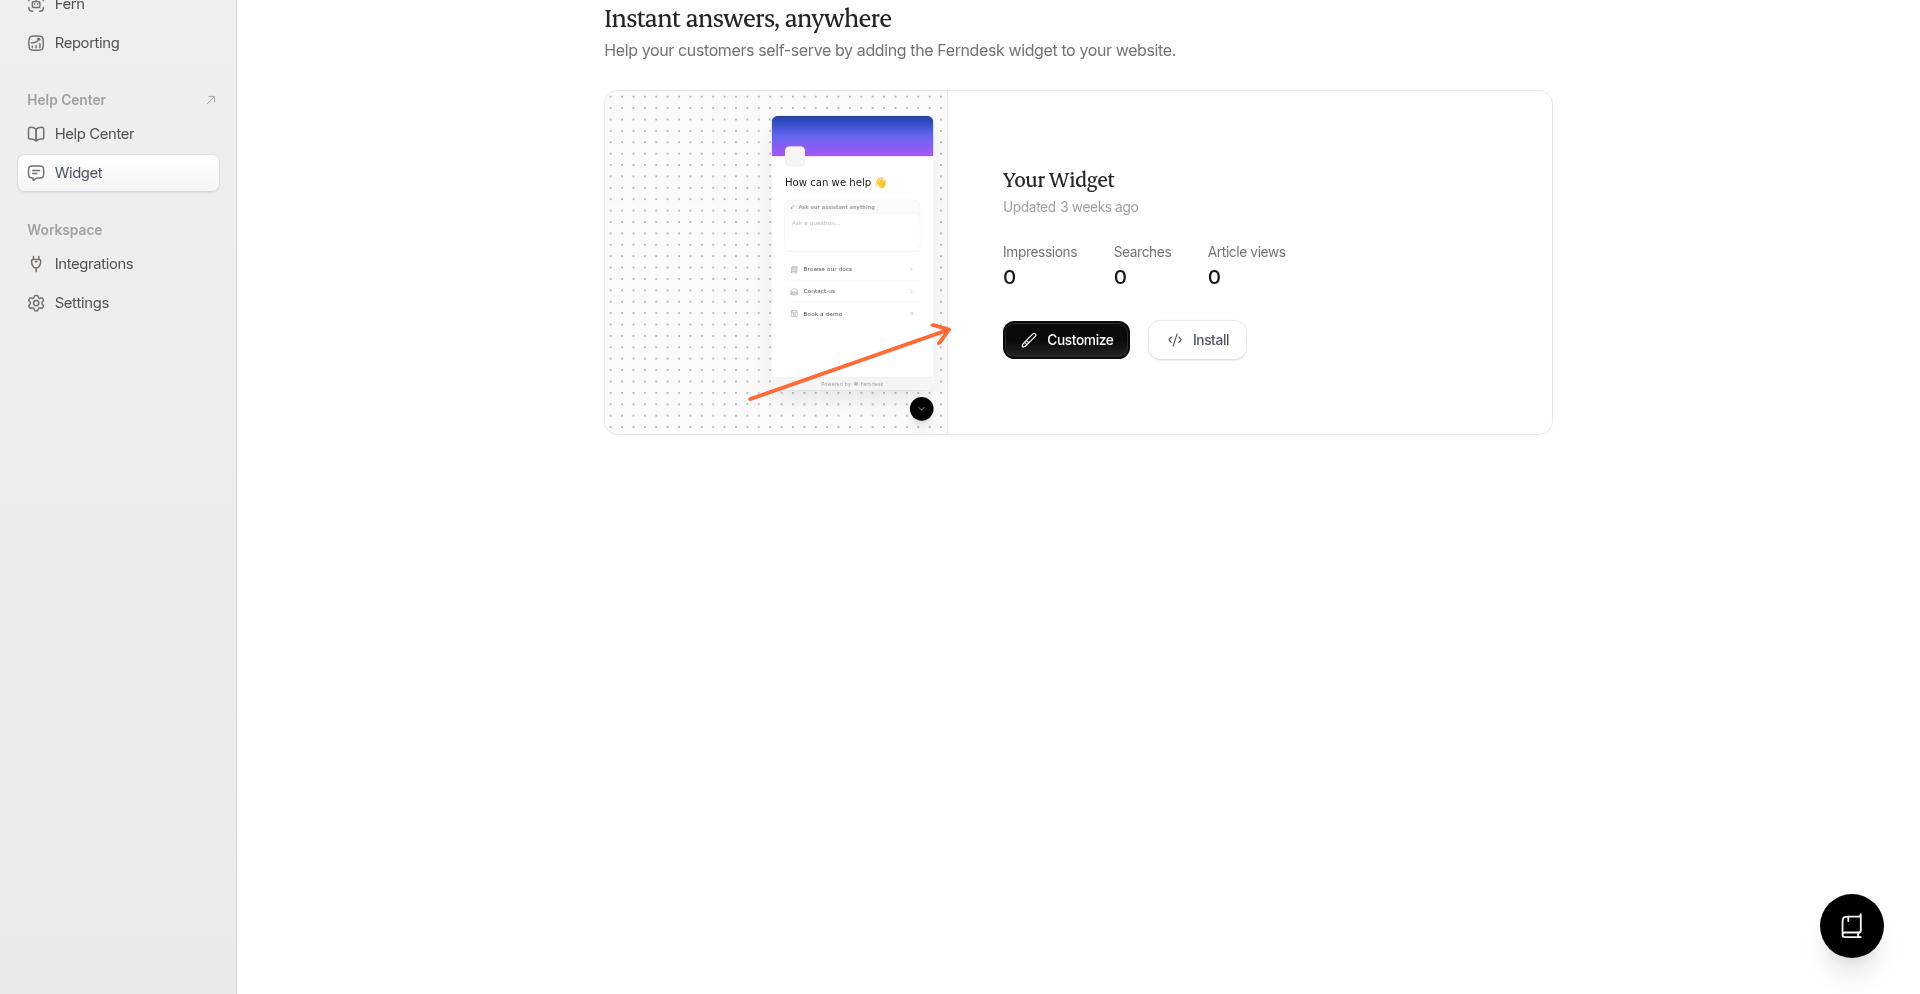
Step 2: Open widget settings
In your Ferndesk dashboard, go to the Widget page and click the Customize button on your widget.
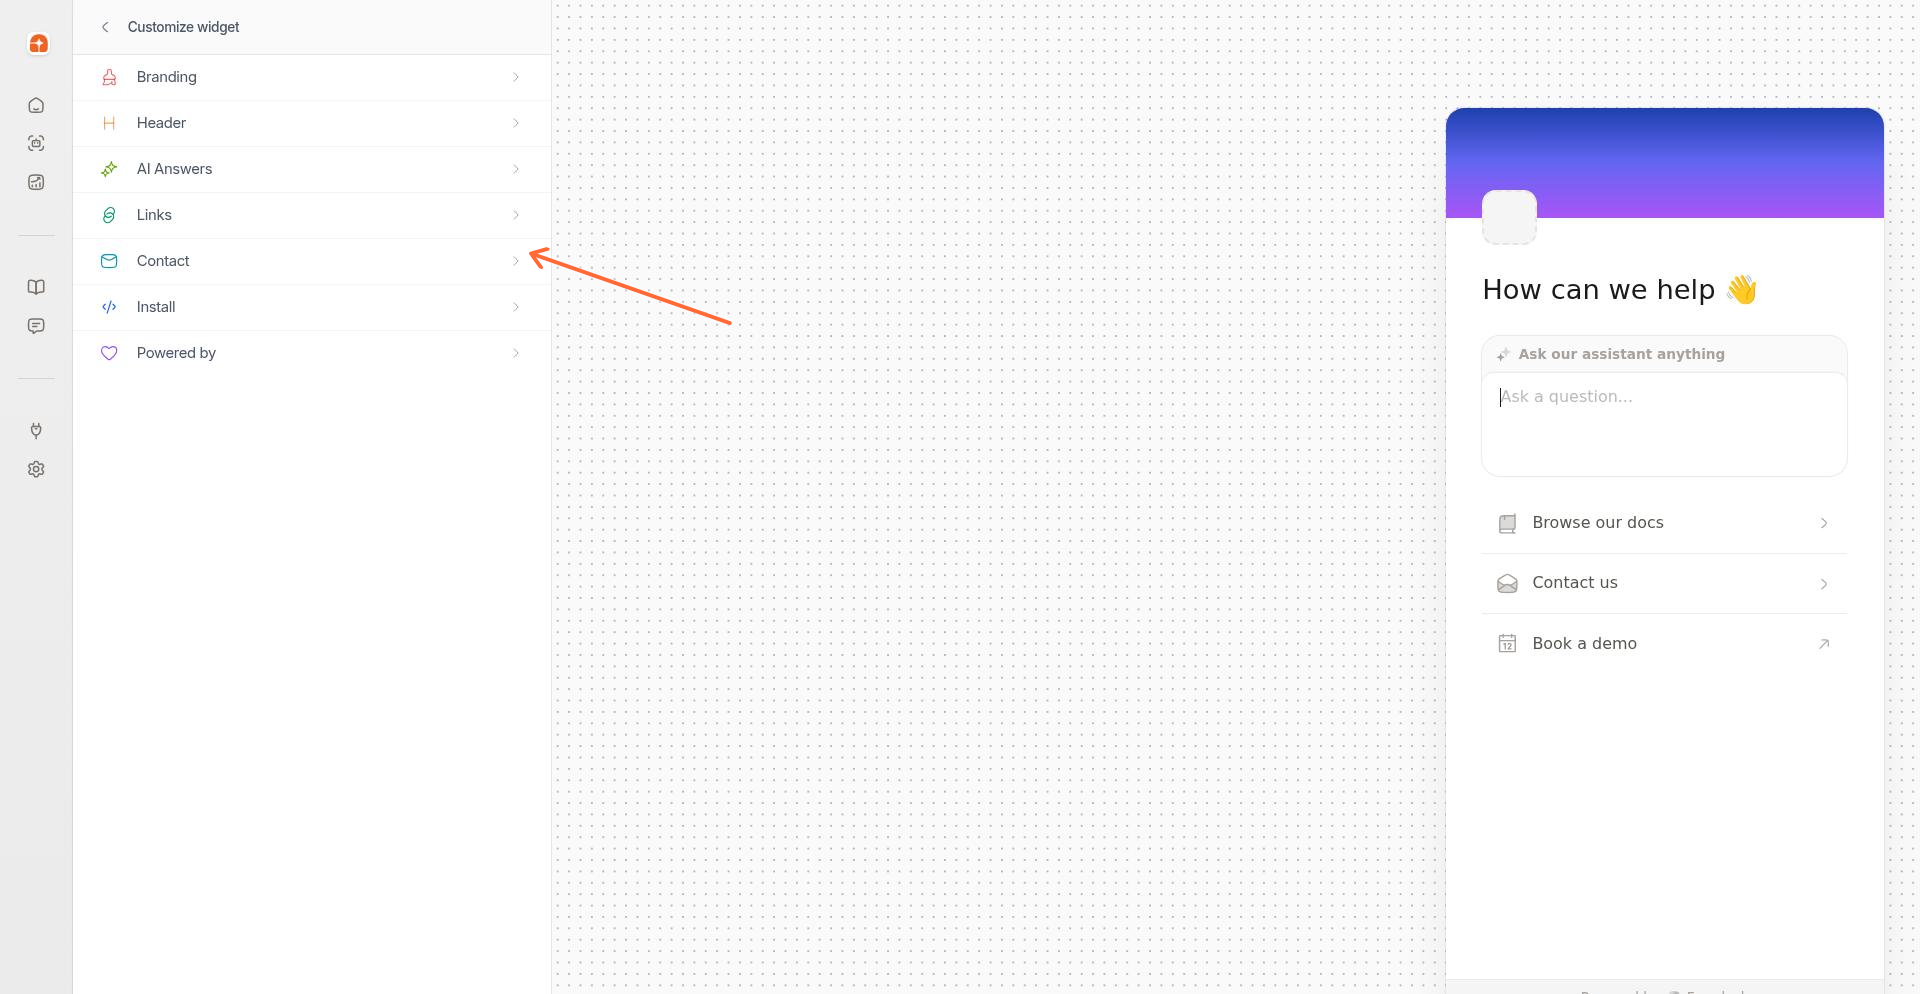
Step 3: Navigate to Contact settings
In the sidebar, click Contact to open the contact configuration options.
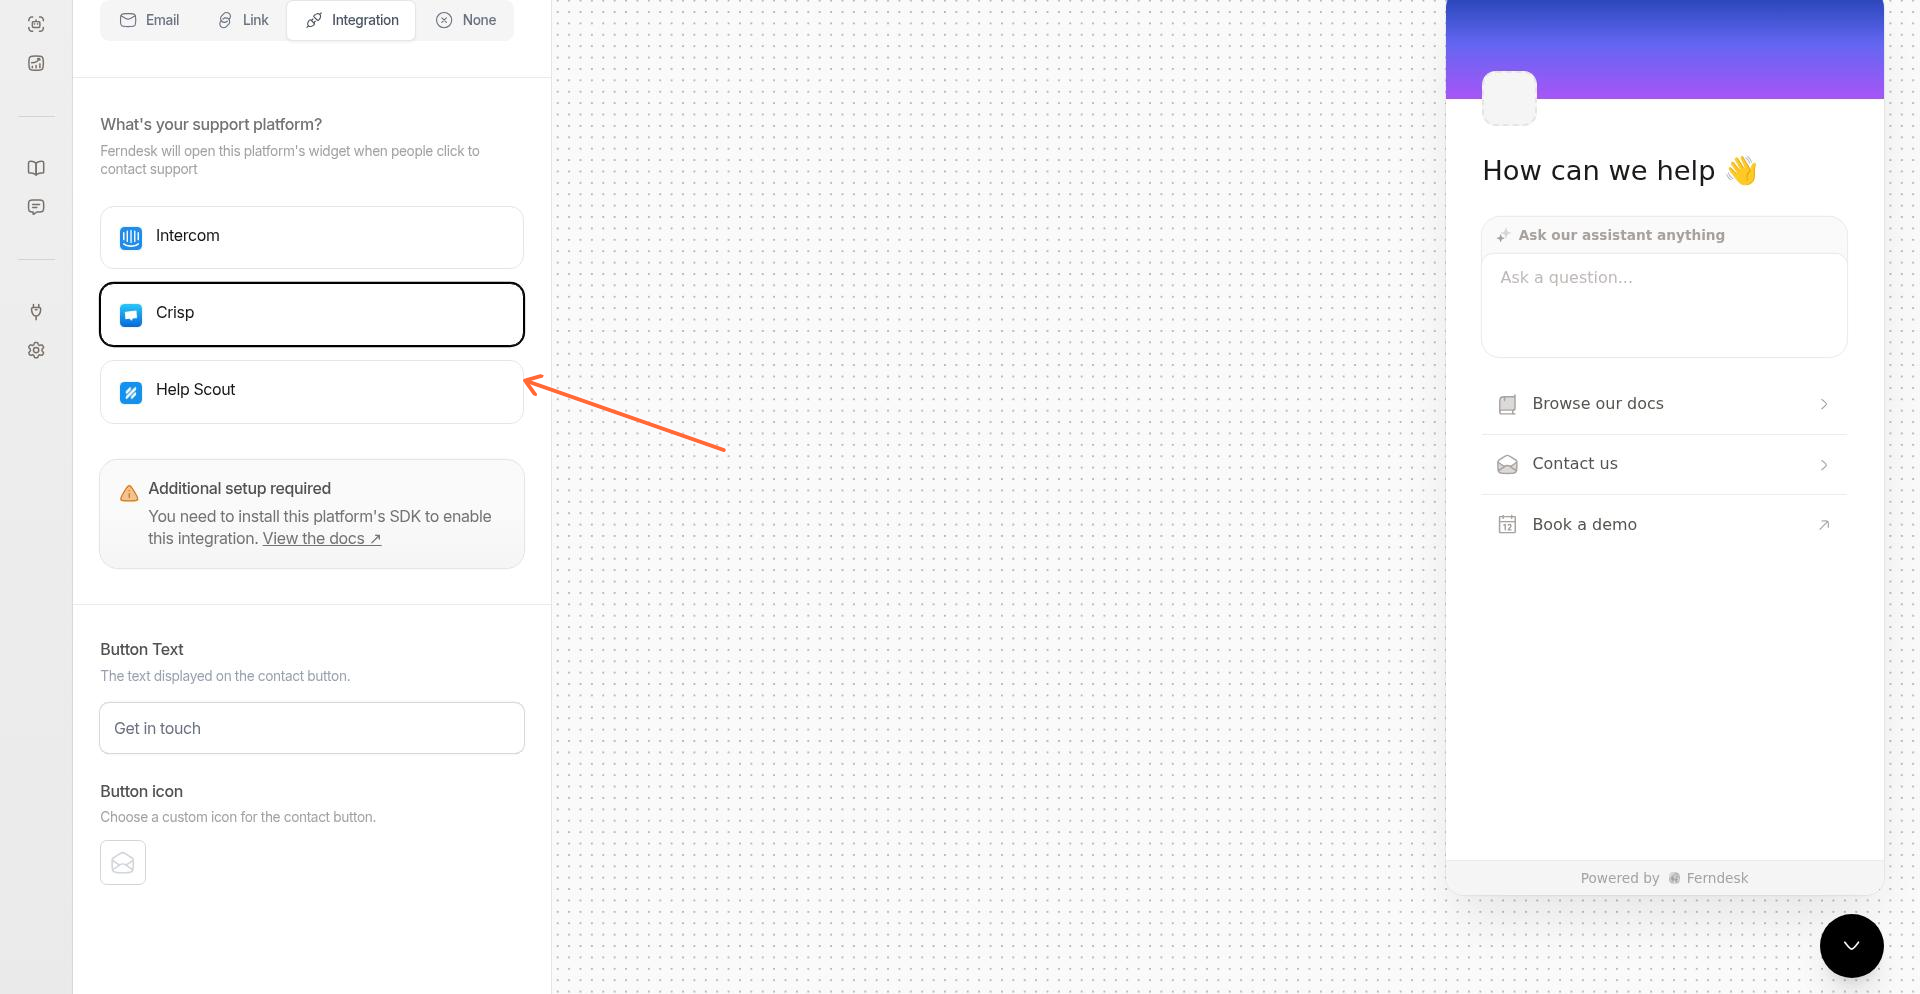
Step 4: Select the Integration tab
Click the Integration tab to see available chat platforms.
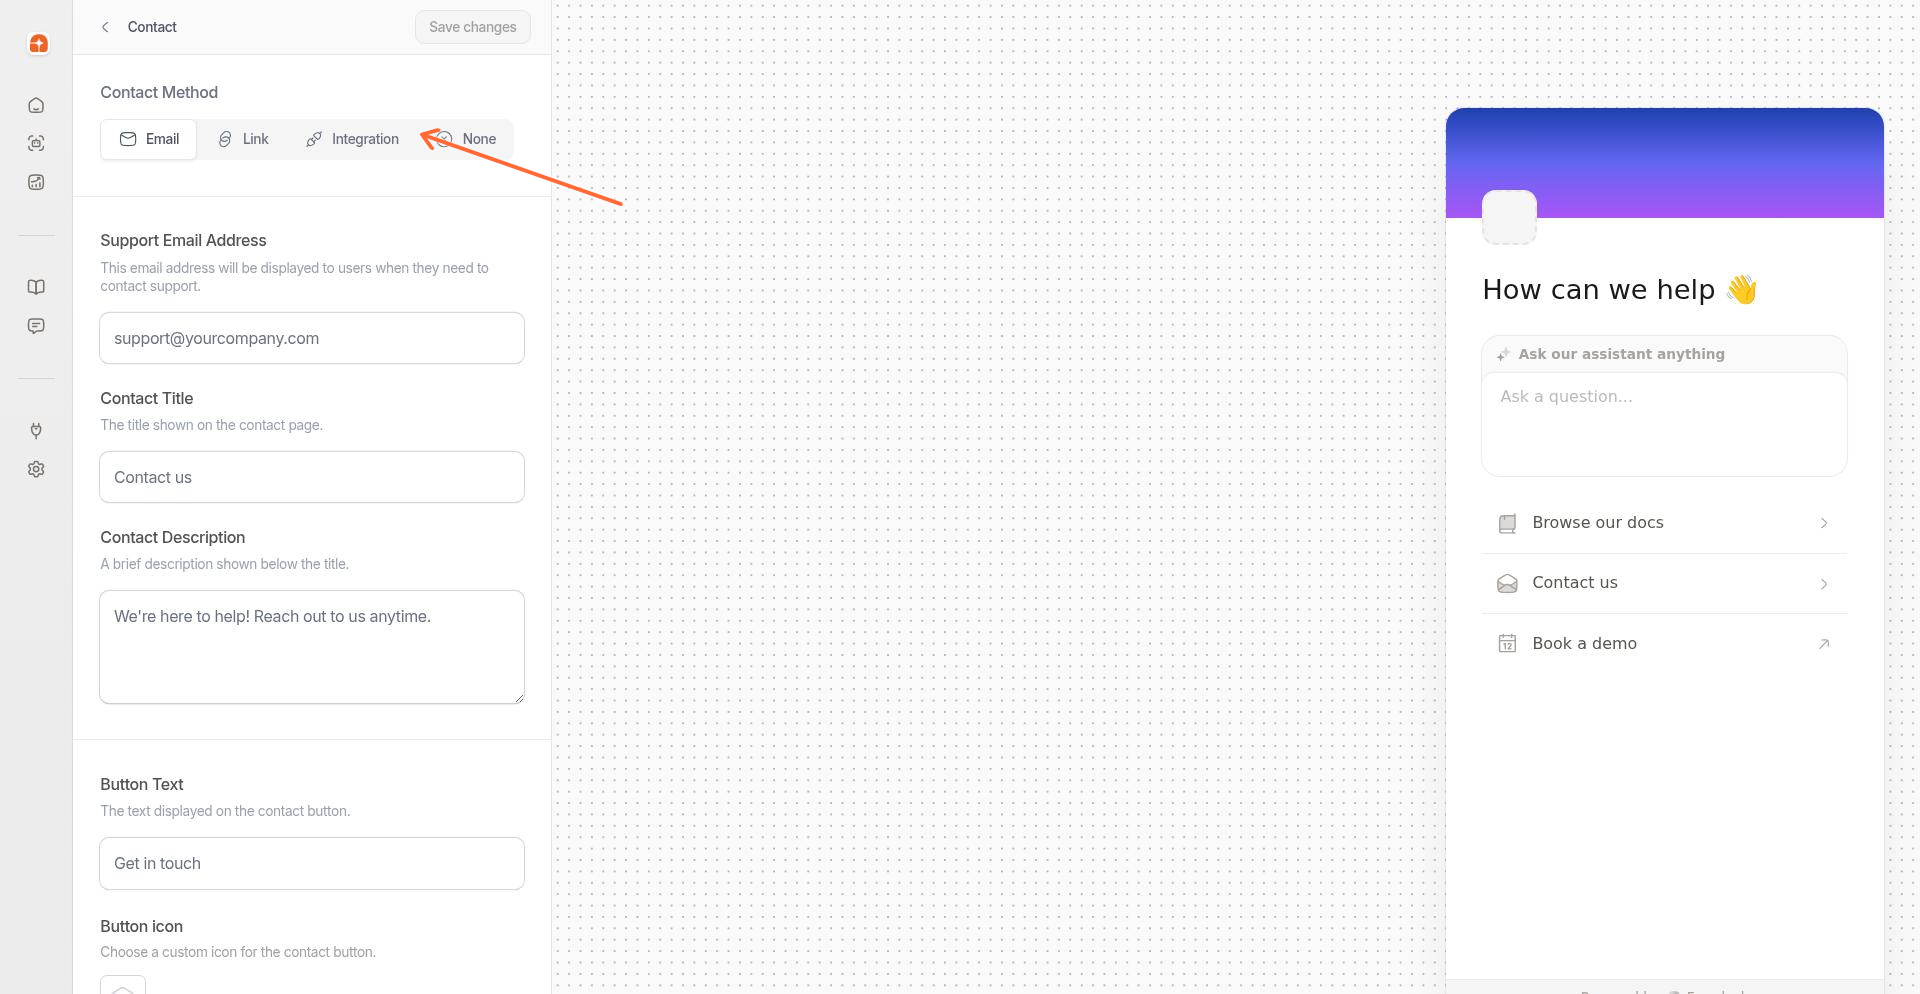
Step 5: Choose Help Scout
Click the Help Scout card to select it as your integration platform.
Click Save to apply your changes.
Step 6: Test the integration
Visit your site where the Ferndesk widget and Help Scout are installed. Click the contact button in the widget. The Help Scout Beacon should open, letting visitors send you a message or browse additional help resources.
If the Beacon doesn't open, verify that it's installed on the same page as your Ferndesk widget and that you set the button style to Hidden in your Beacon settings.