
How to add a translation
Add a language to translate your help center content. Ferndesk uses AI to translate articles, collections, help center settings, and API reference content automatically. You can customize translation behavior with per-language instructions and glossary mappings.
The number of languages you can add depends on your plan. See Ferndesk pricing and plans for language limits and add-on pricing.
Add a language
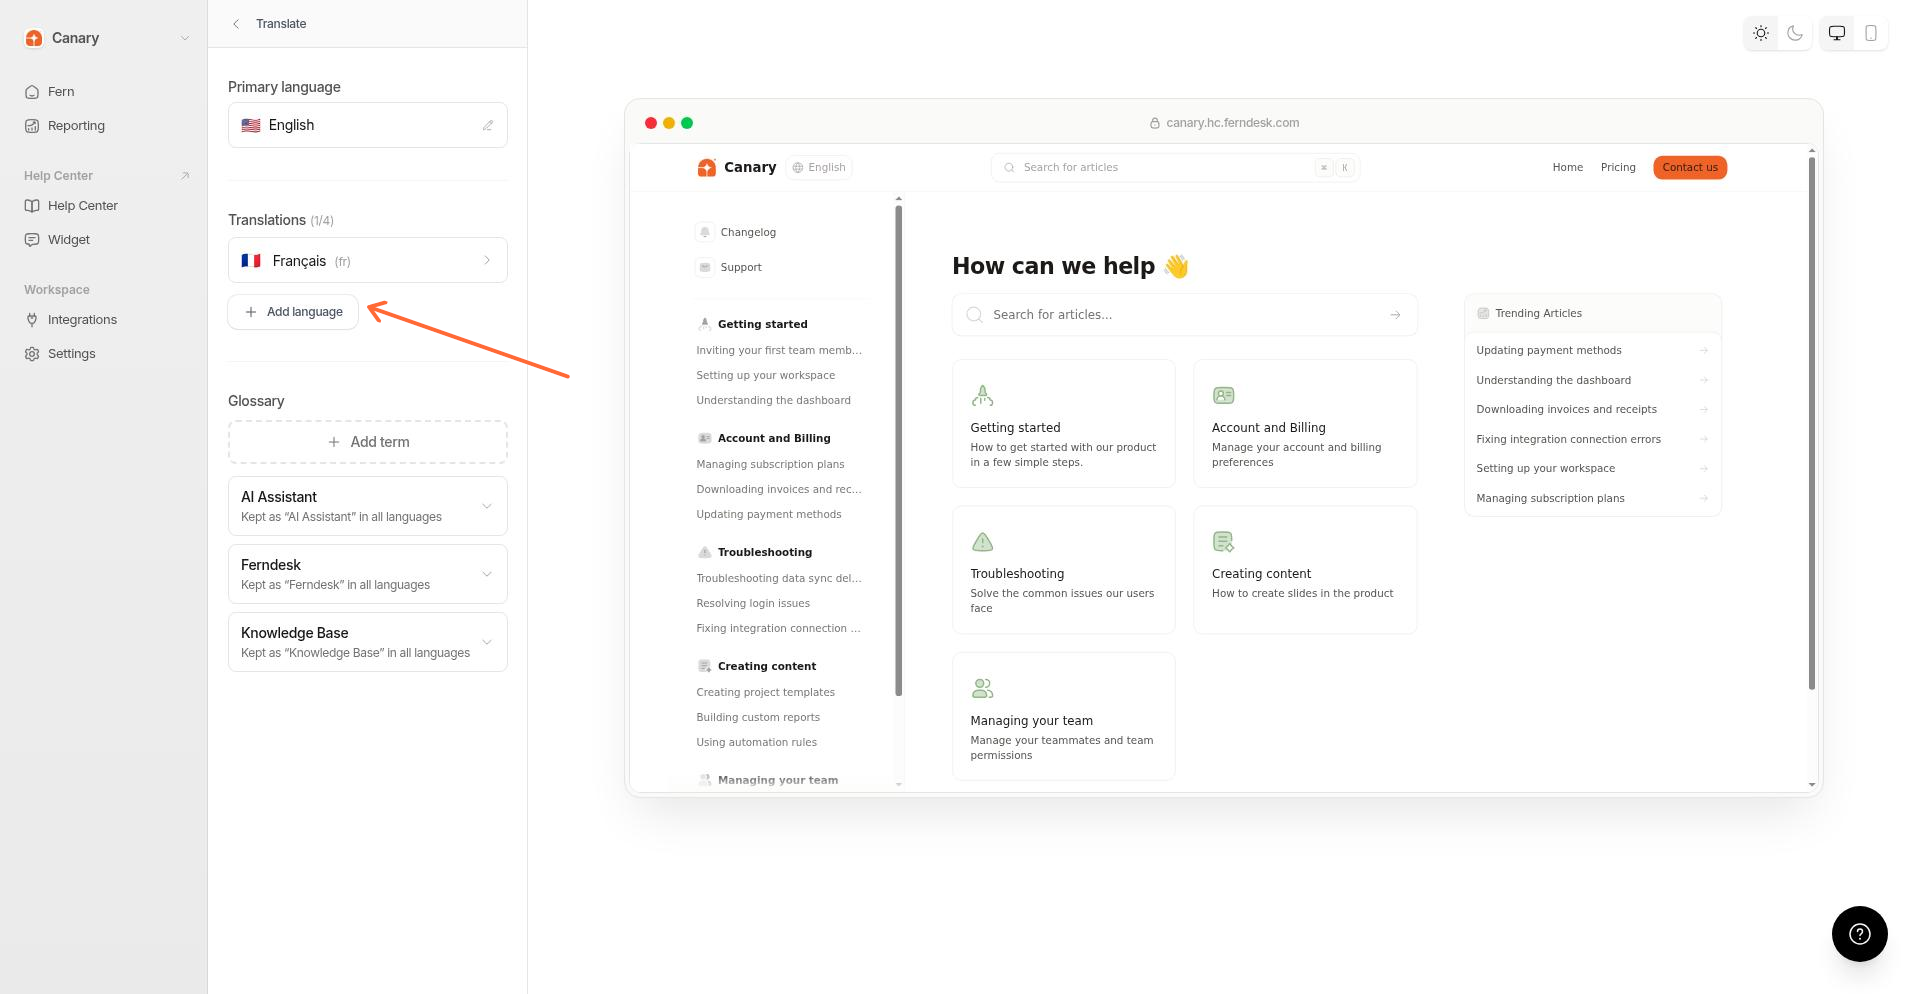
Open the translations dashboard
Go to Help Center > Translate.
Start by adding a language
Click Add a language.
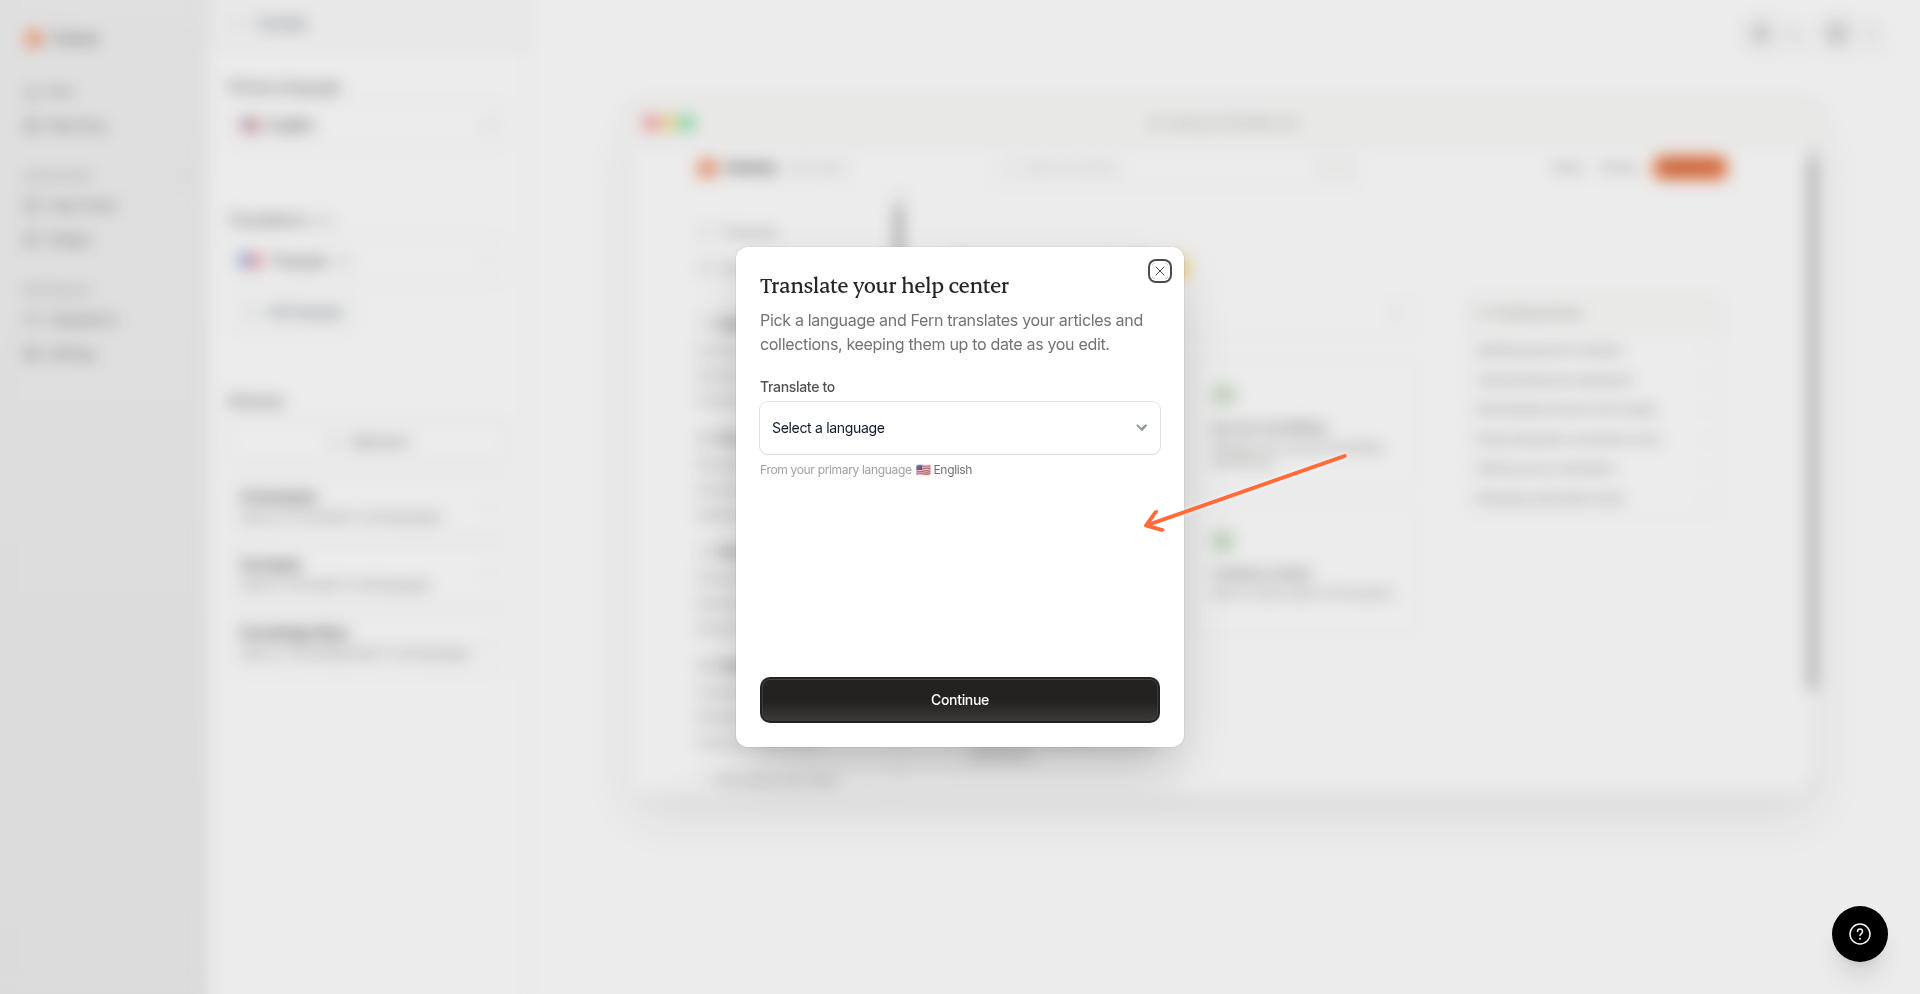
Select a language
Choose the language you want to translate to, then click Continue.
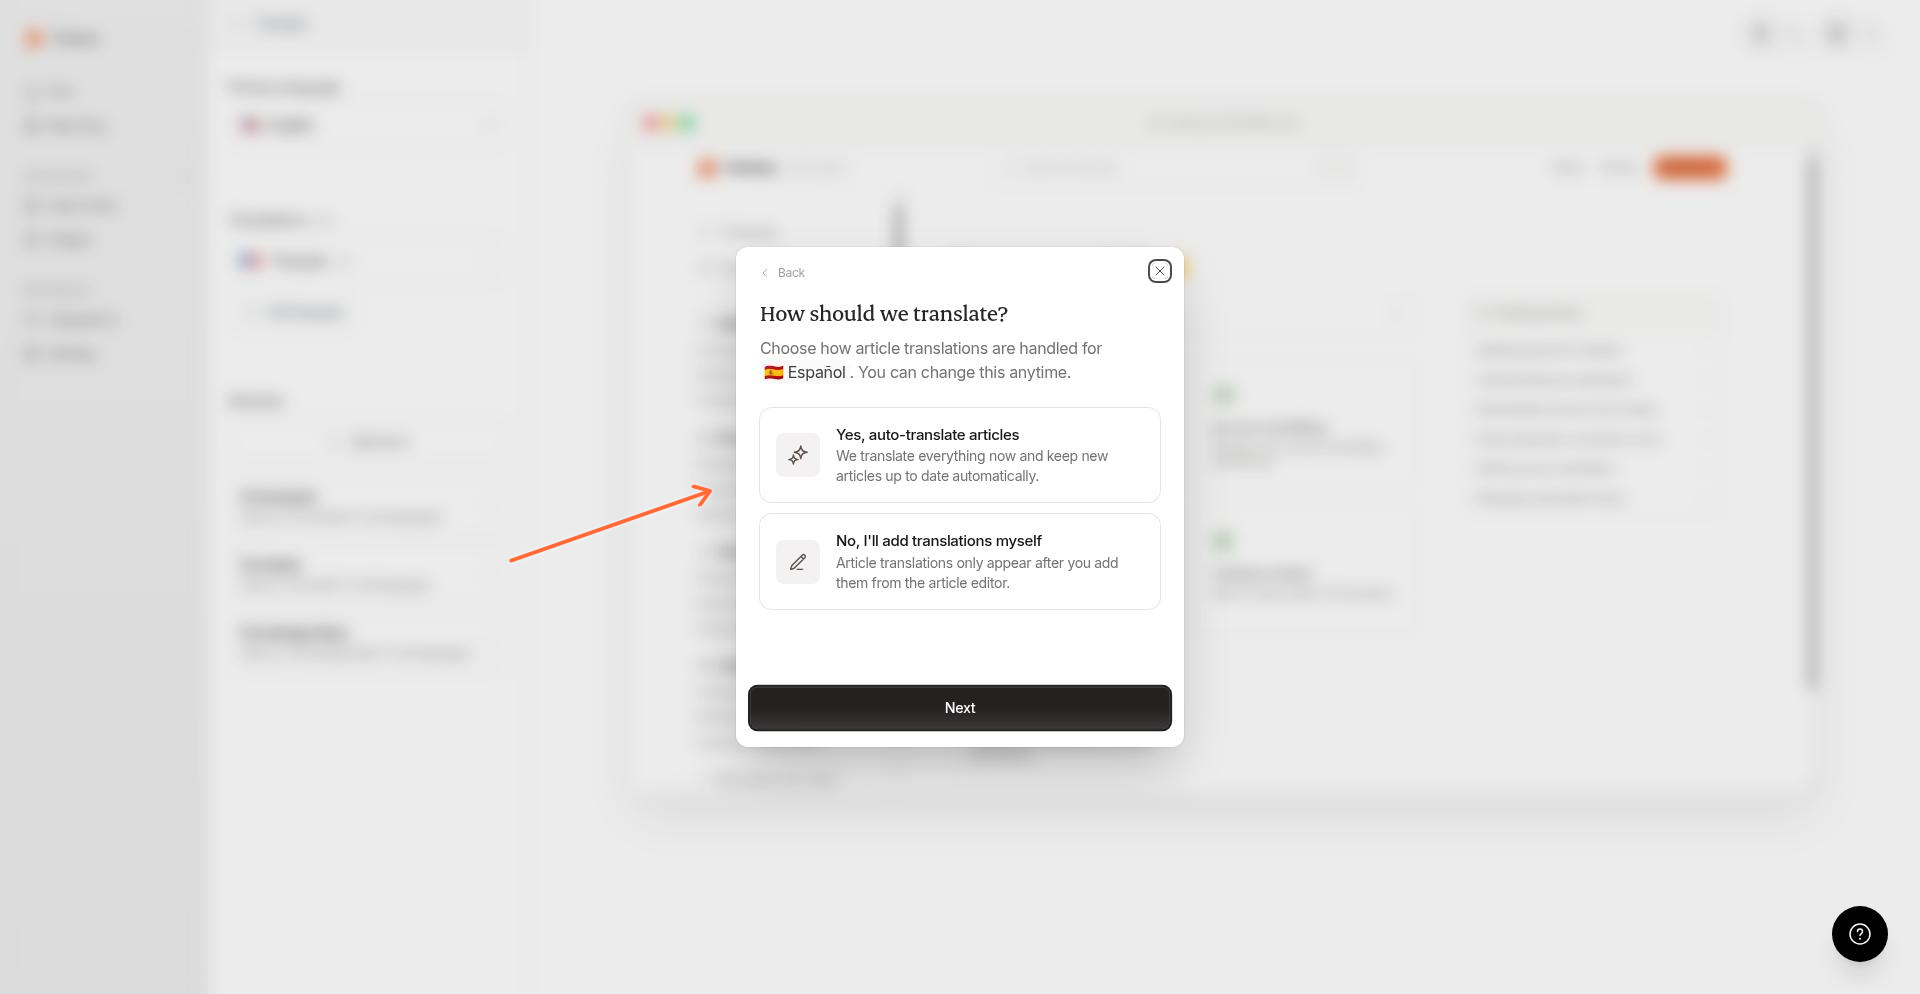
Choose a translation mode
Pick how Ferndesk should handle translations:
Yes, auto-translate articles translates all existing content now and keeps new articles up to date automatically.
No, I'll add translations myself leaves articles untranslated until you add them manually from the article editor.
Click Next.
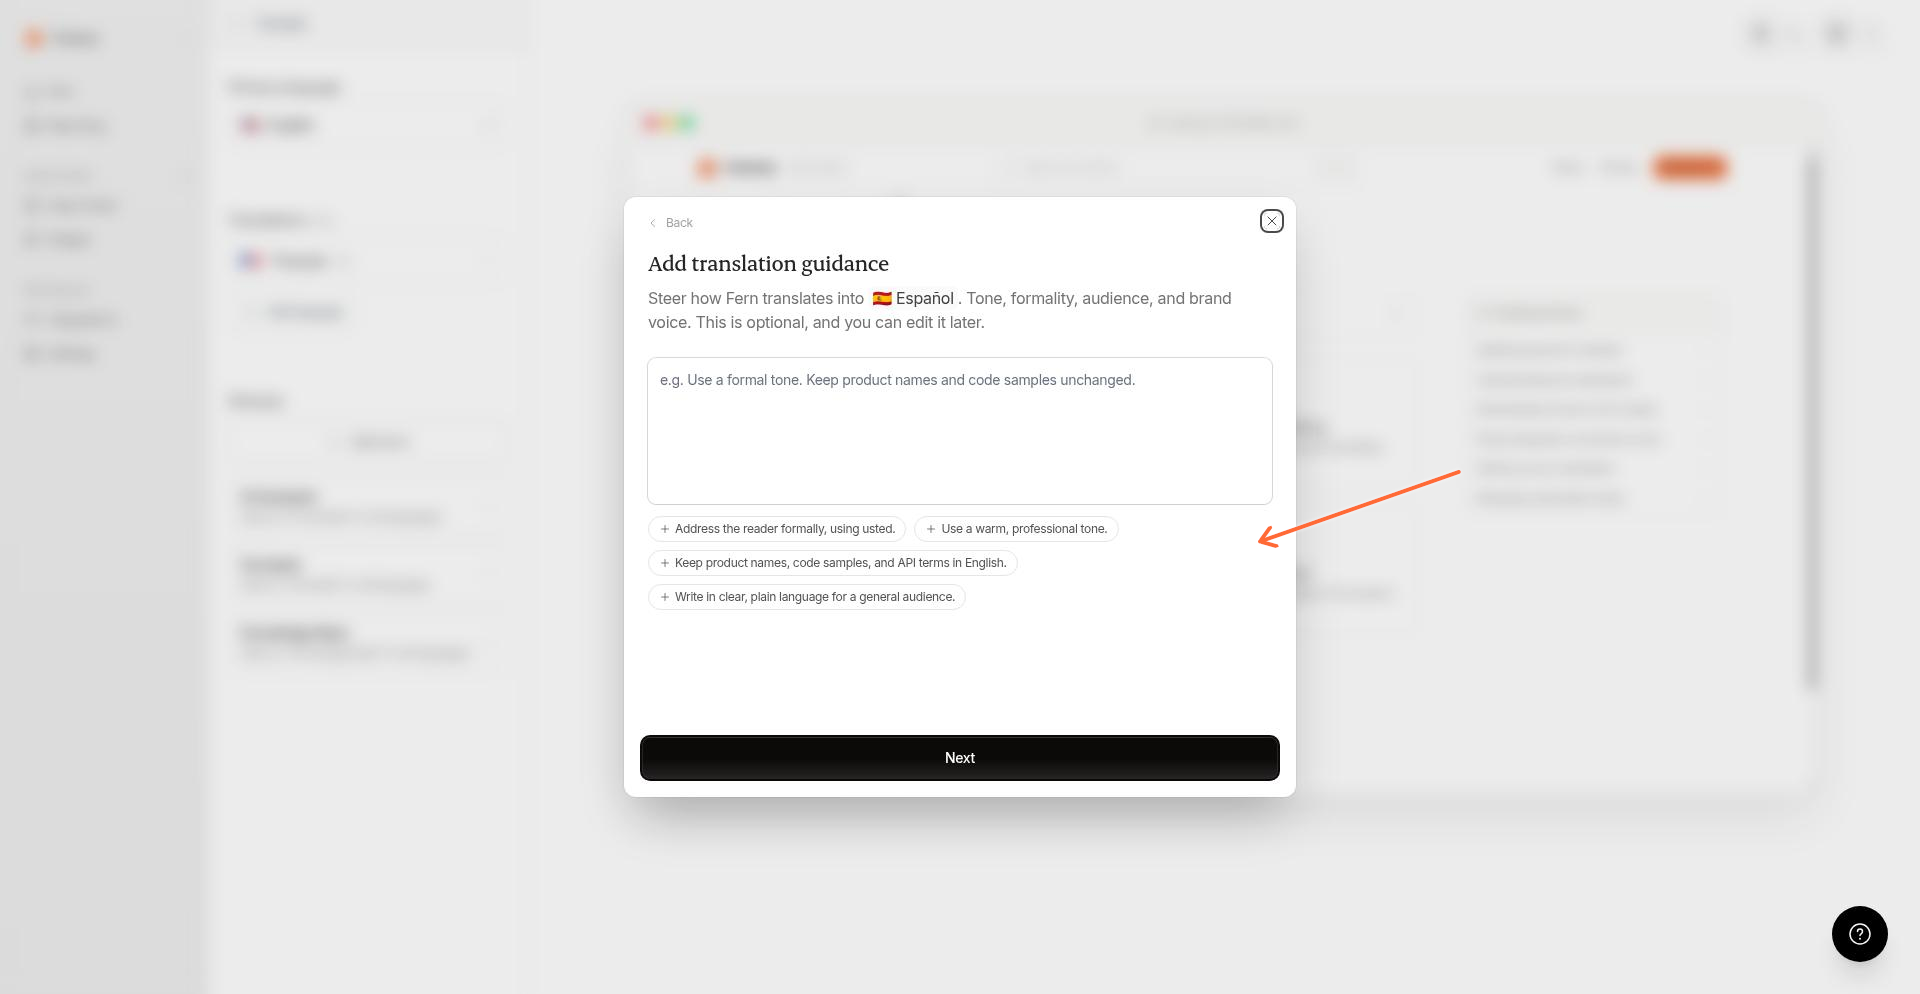
Add translation guidance (optional)
Enter custom guidance to steer tone, formality, audience, or brand voice for this language. For example, "Use formal vous. Keep product names and code samples unchanged." Click Next.
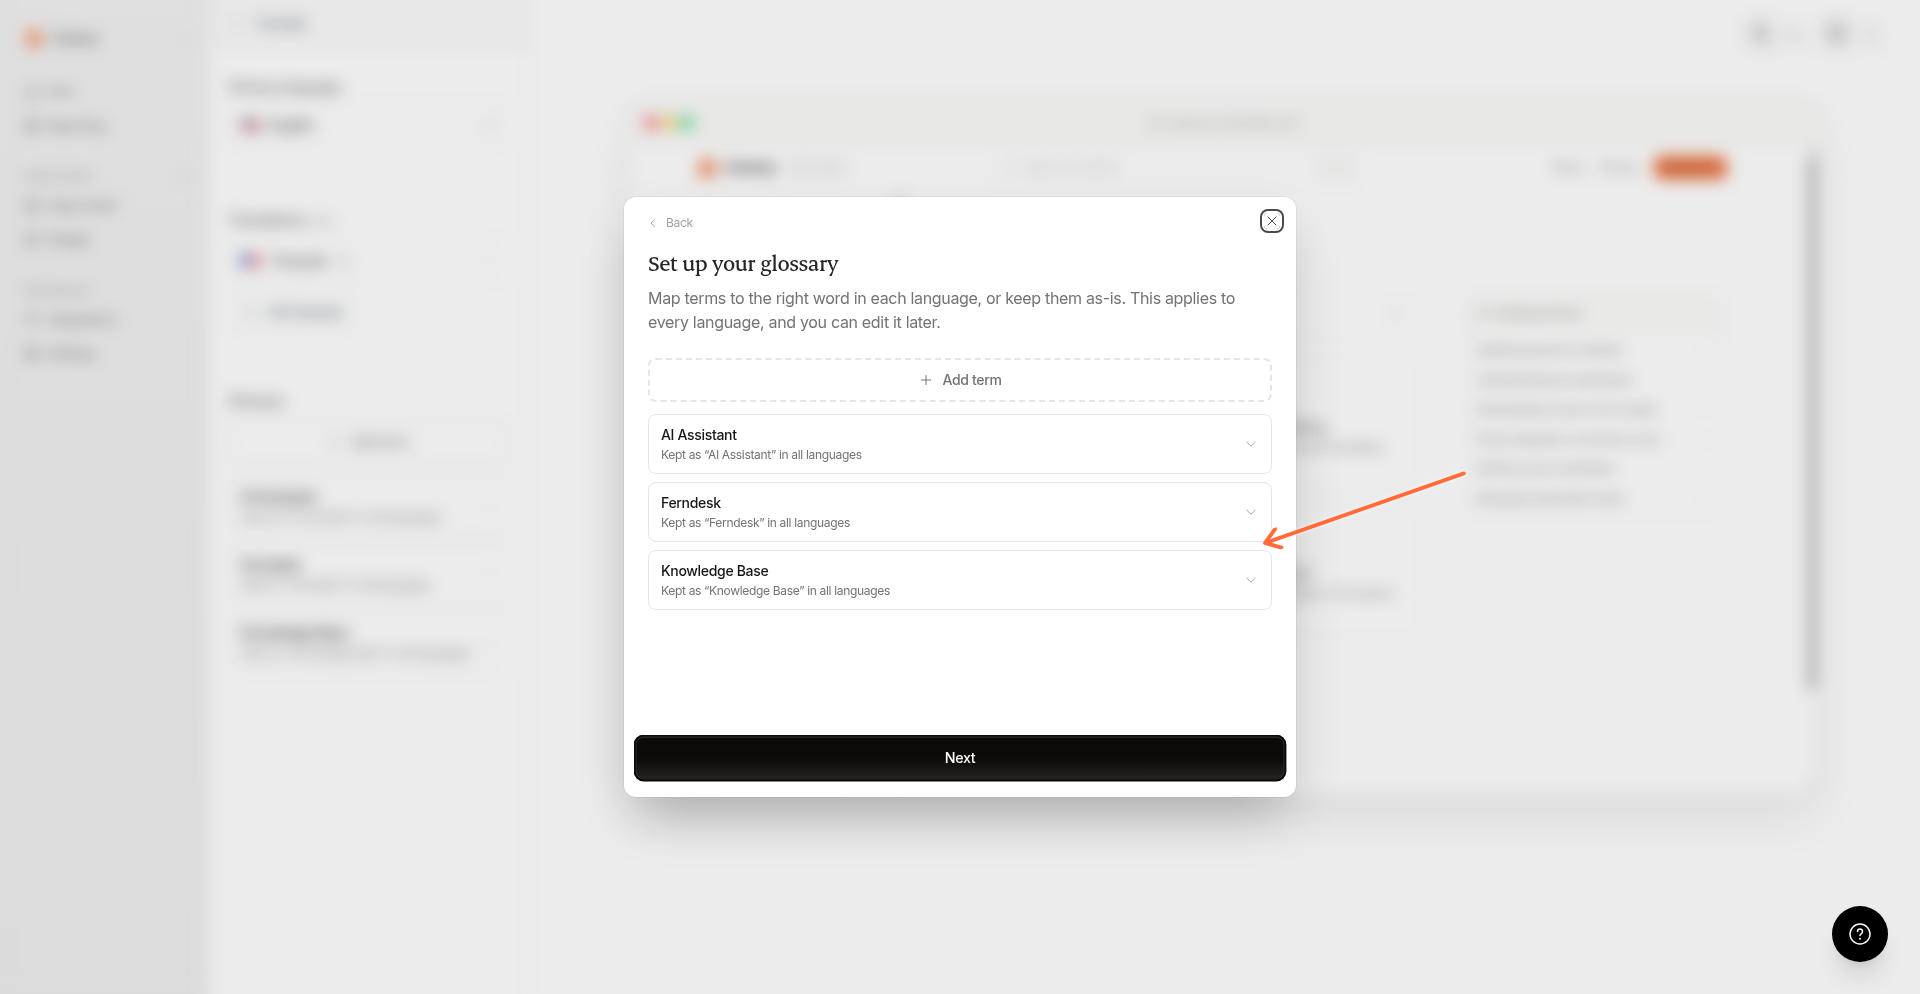
Set up your glossary
Map terms to a custom translation for each language, or prevent them from being translated. This applies to every language and you can edit it later. Click Next.
Review and confirm
Review your setup on the Ready to translate screen, then click Add language.
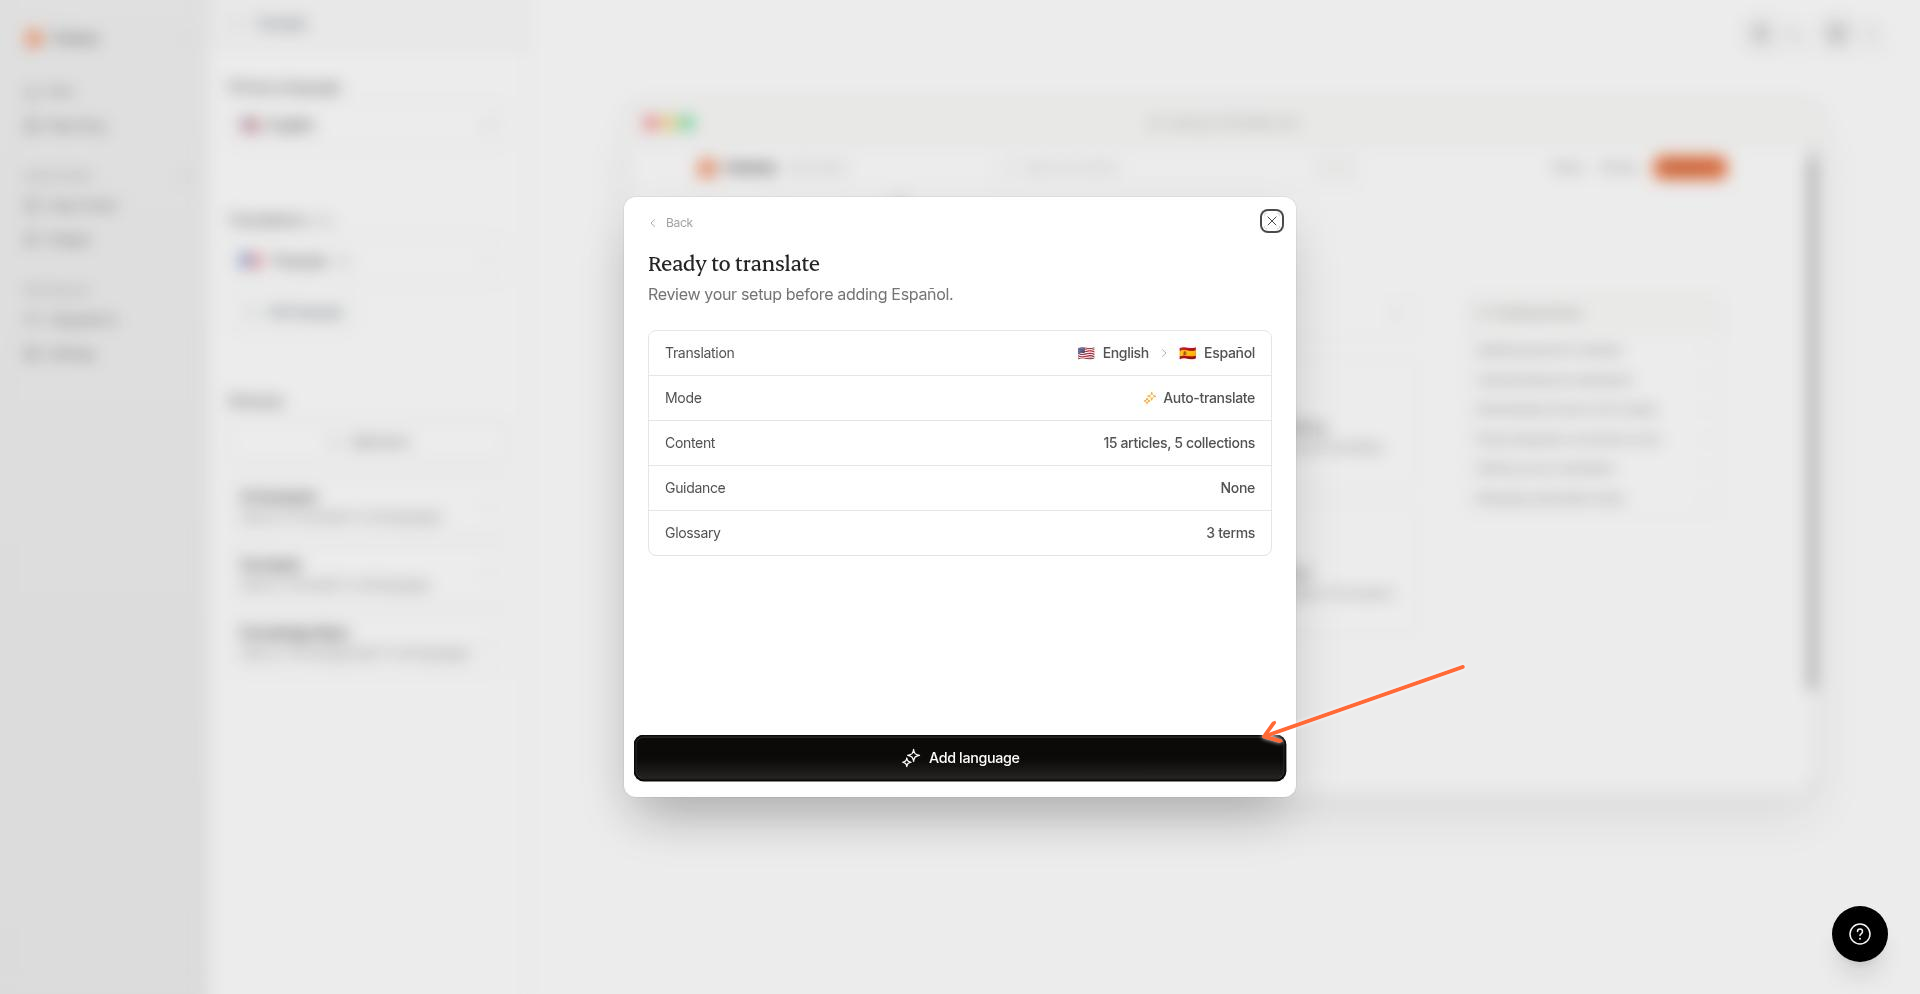
Small help centers finish in minutes. Larger ones can take a few hours. You can continue working while translations process.
Auto-managed translations
Languages you add with auto-translate enabled are managed automatically:
New articles get translations automatically
You don't need to do anything after publishing
Manual edits to translations are preserved
Edit translations inline
You can edit collection translations directly in the collection editor. See How to edit collection translations.
For articles, open any article in the editor and switch to a language using the language selector to edit the translated title and content.
Manage your glossary
Add terms that should not be translated or should be translated in a specific way. You can prevent a term from being translated entirely, or map it to a custom translation for each target language.
Add a glossary term
Open the translations dashboard
Go to Help Center > Translate.
Add a term
Click Add term, enter the term name, and choose whether to keep it unchanged or translate it.
Map translations (optional)
If you chose Translate, enter the mapped word for each language. For languages you leave blank, the term is not translated and stays in the source language. Click Save.
Edit or remove a glossary term
Find the term in the glossary list and click it to edit. Toggle Match case to make matching case-sensitive. Click Remove to delete a term.
Updating a glossary term or its language mappings can trigger retranslation of affected content because translation hashes include glossary context.
See Manage your glossary for a full guide on glossary behavior, matching rules, and when to add terms.
Add or edit translation guidance
Translation guidance steers how the AI translates content for a specific language. You can add it during setup or edit it later from the translations dashboard.
Open the language settings
Go to Help Center > Translate and click the language you want to customize.
Edit guidance
Enter or update text in the Translation guidance field, then click Save guidance.
Click Retranslate all to apply updated guidance to existing content.
Changing translation guidance can trigger retranslation of existing content because translation hashes include guidance context.