
Configure widget settings
Customize your Self-Service Widget to match your brand and support workflow. All settings update in real-time preview before saving.
You'll need admin or owner access to customize widget settings.
Access Widget Settings
Open your Ferndesk dashboard
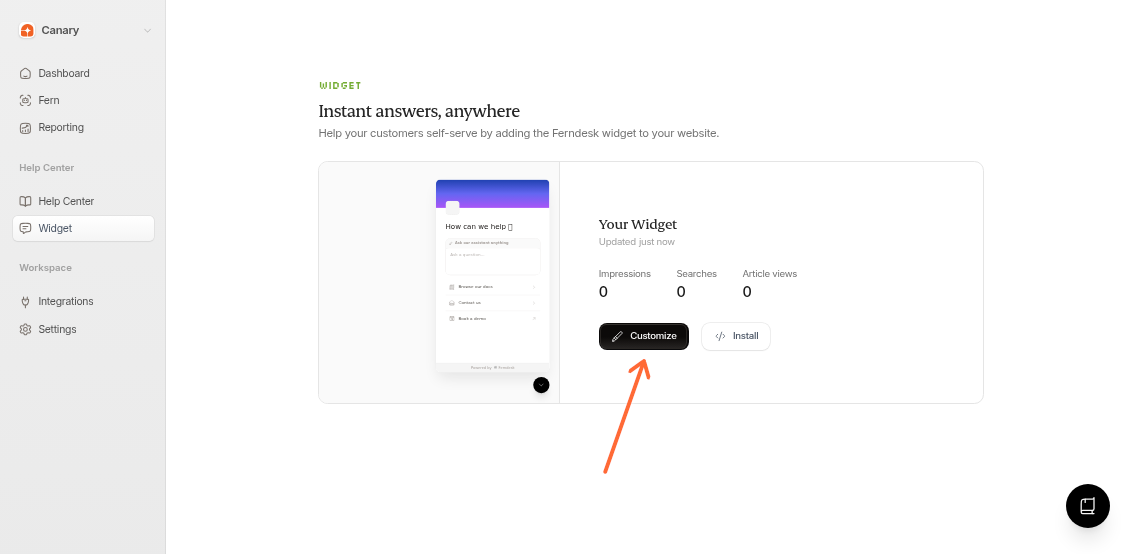
Navigate to Help Center → Widget
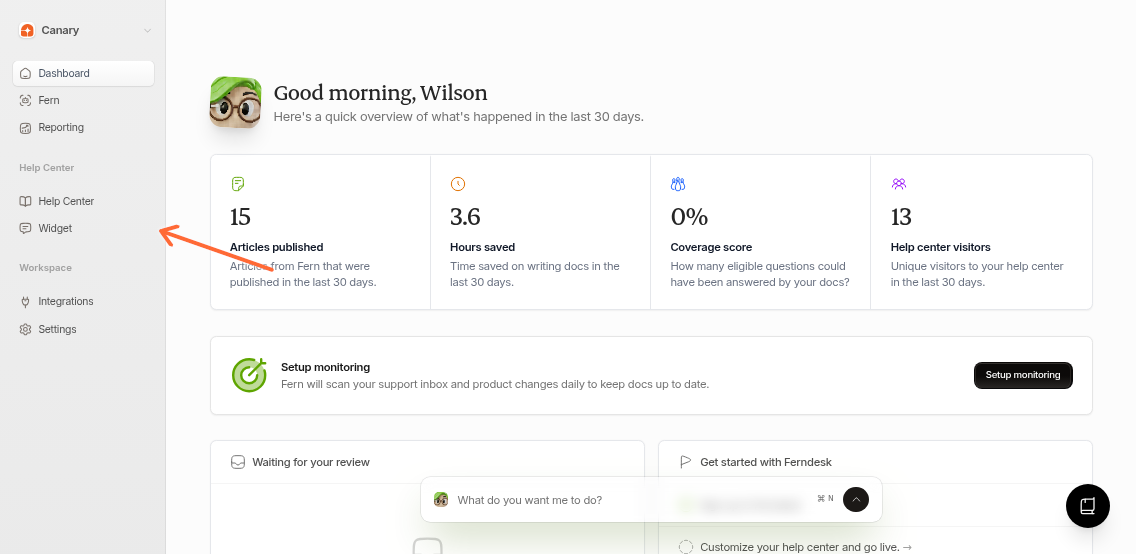
Click Customize
Branding
Control your widget's visual identity:
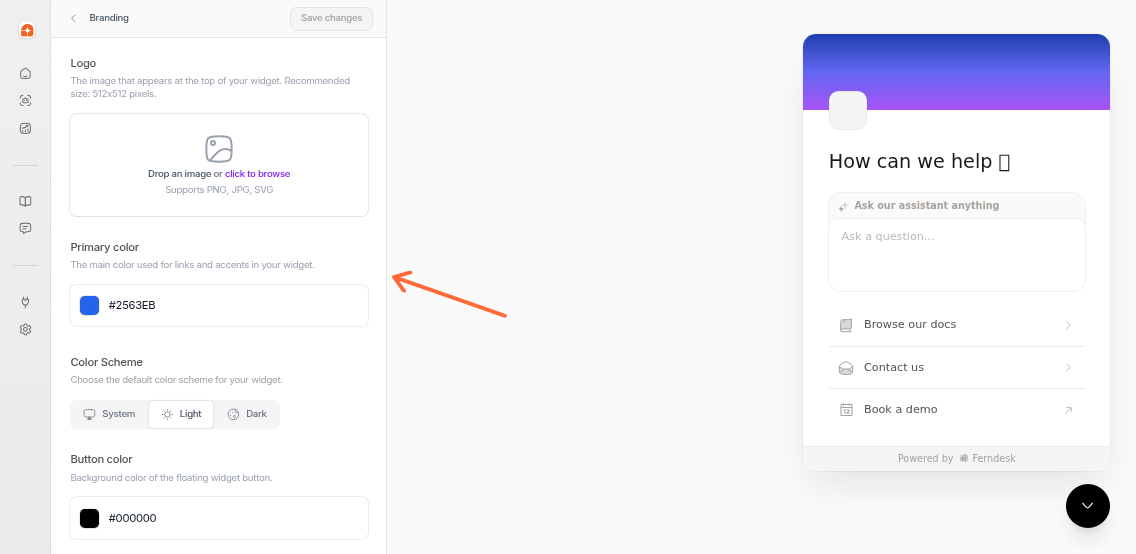
Logo: Upload PNG, JPG, or SVG (recommended 512x512px)
Primary color: Brand color for buttons and accents
Color scheme: Choose system, light, or dark mode
Button color: Customize the launcher button background
Button icon: Select from available icons
Button icon color: Set the color of the icon inside the launcher button. Leave empty to auto-detect based on button background contrast, or choose a specific hex color
Heading font: Choose from Google Fonts
Body font: Choose from Google Fonts
Square logos work best. The widget automatically resizes images to fit.
Header
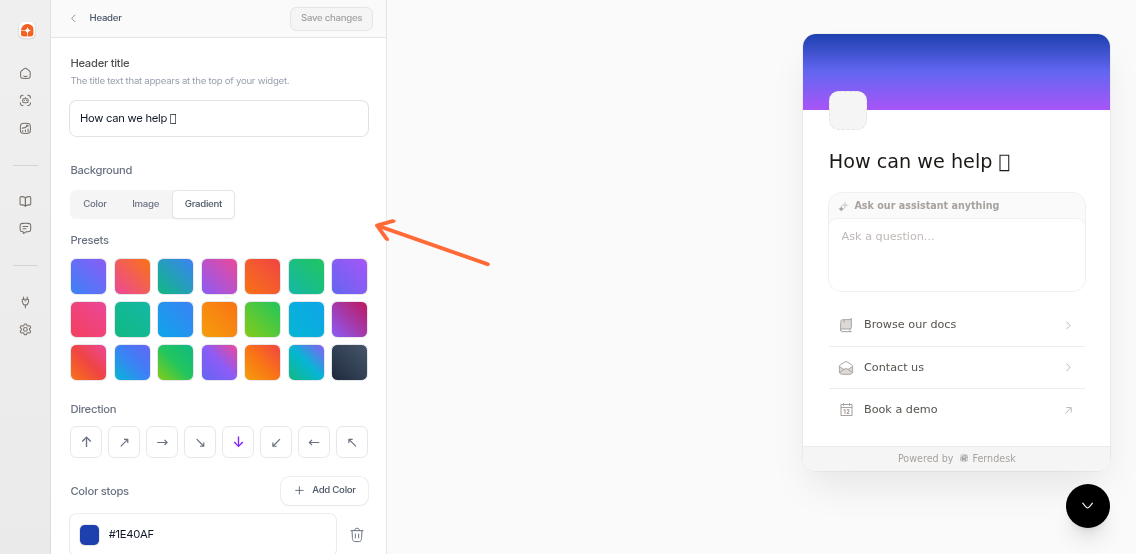
Title: Main heading (default: "How can we help?")
Background: Custom background color or image
AI Answers
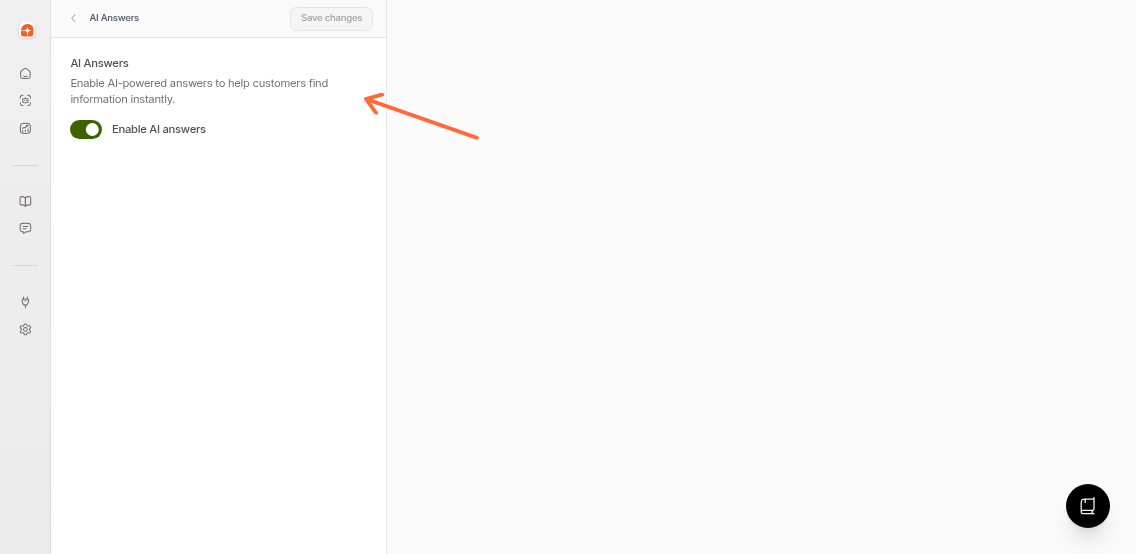
Enable AI-powered chat to help customers find answers through natural language queries. When enabled, the widget shows a chat interface that synthesizes answers from your published articles with inline citations.
The AI assistant only searches published content. Make sure you've published relevant articles before enabling this feature.
Links
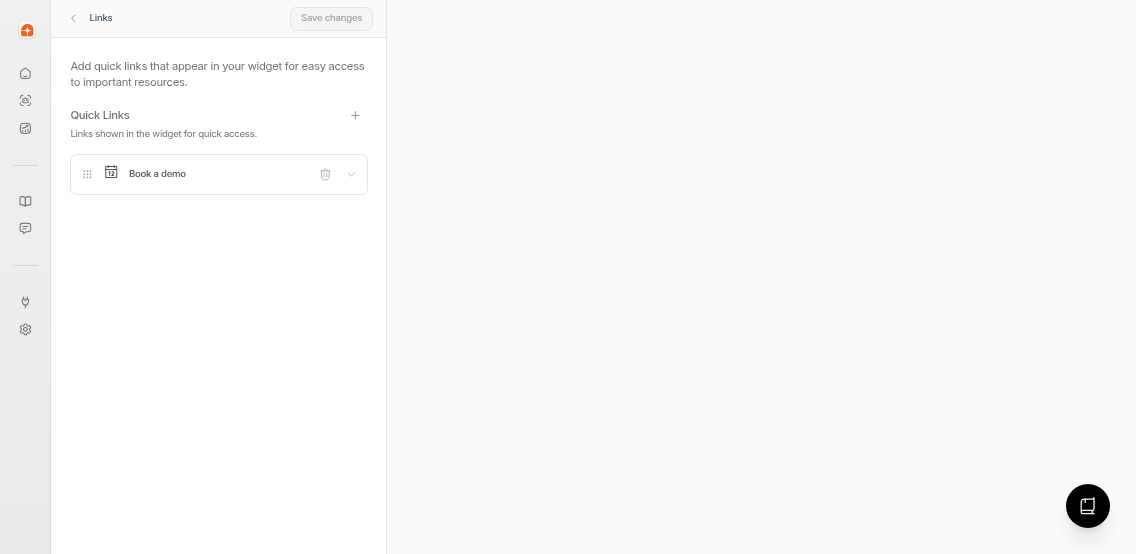
Add up to 5 quick-access links to your widget. Each link includes:
Icon: Choose from available icons
Label: Link text
URL: Destination (internal or external)
Drag and drop to reorder links.
Contact
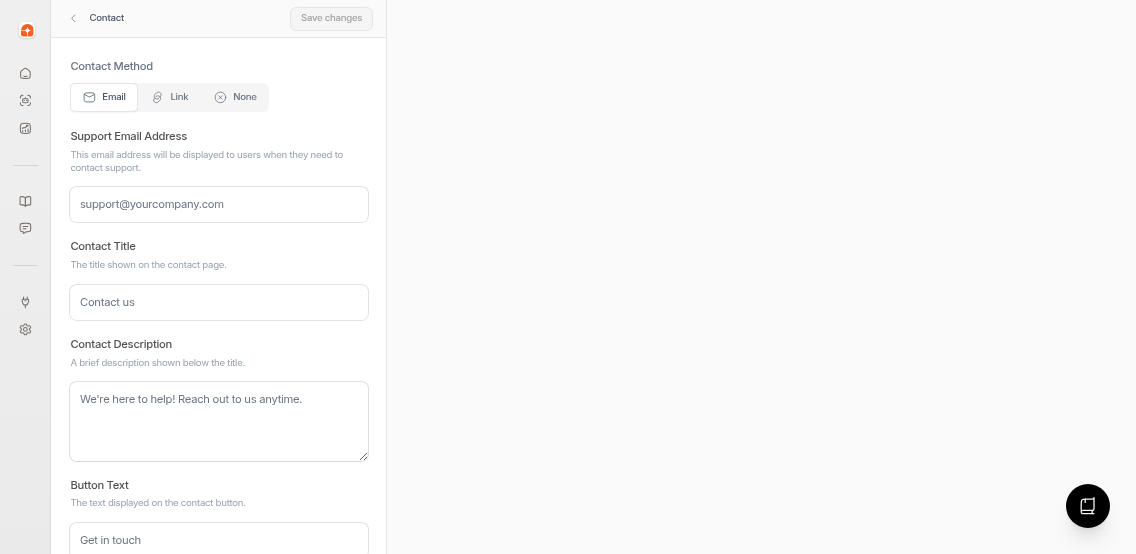
Choose how customers reach your support team:
Display a contact form that sends messages to your support email. Customers can attach up to 3 image files (JPEG, PNG, GIF, WebP, HEIC, HEIF) up to 5MB each.
Configure:
Support email address: Where messages are sent
Contact title: Heading on the contact page
Contact description: Brief explanation
Button text: Submit button label (default: "Get in touch")
Link
Redirect users to an external support page or ticketing system.
Contact link URL: Destination URL
Button text: Button label
File uploads are only available with the Email contact method.
None
Hide the contact option for fully self-service support.
Translations
Translate your widget's UI strings into multiple languages. Visitors see the widget in the language matching your help center's primary language or their selected language.
For each language:
Select a field to translate
Click Re-translate with AI to auto-generate translations
Or manually edit the translation text
Preview updates in real-time on the right
Widget translations sync with your help center languages. Add languages in Help Center → Translate first.
The widget automatically displays in the appropriate language when visitors browse your translated help center.
Powered By
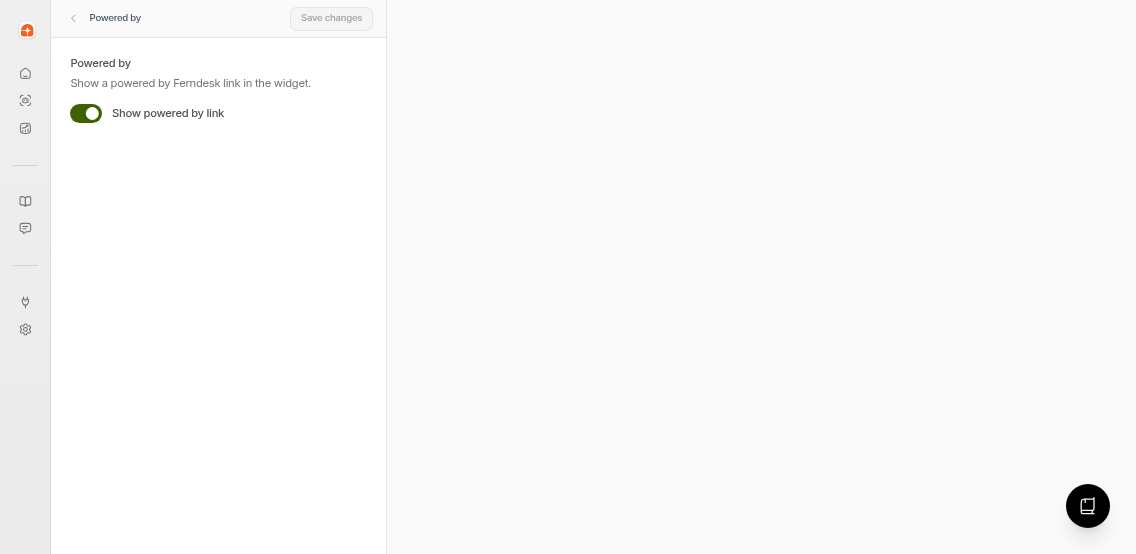
Toggle the "Powered by Ferndesk" link in the widget footer on or off.
Install
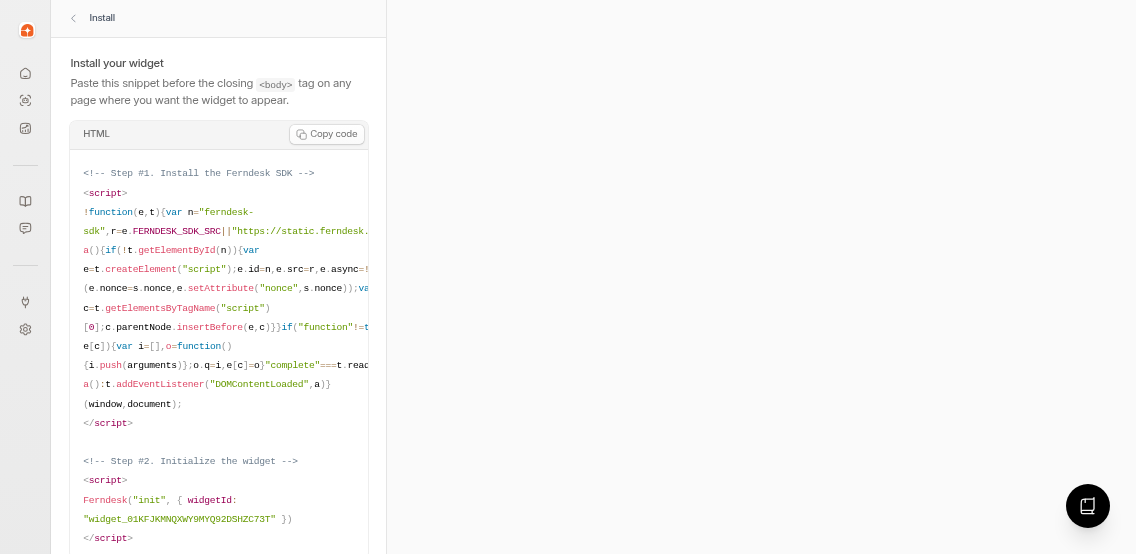
Copy the embed code snippet and paste it into your site's HTML before the closing </body> tag. The snippet includes your unique widget ID and loads the widget automatically.
Changes to widget settings apply immediately to your live widget after saving.