
Customize your help center's typography to match your brand guidelines by adding custom fonts from Google Fonts, or self-hosted sources.
Using the Typography Picker (Google Fonts Only)
For quick access to Google Fonts, use the built-in Typography picker:
Expand Help Center in the sidebar, then click Customize
Open the Branding panel
Scroll to the Typography section
Select a font family for Heading font or Body font
Click Advanced Options to choose specific font weights (Thin to Black)
Click Save changes
The Typography picker only supports Google Fonts. For Adobe Fonts, custom fonts, or more control over styling, use the Head Code method below.
Adding Custom Fonts via Head Code
For non-Google fonts or advanced customization, inject font embed codes directly into your help center:
Step 1: Find Your Font and Get the Embed Code
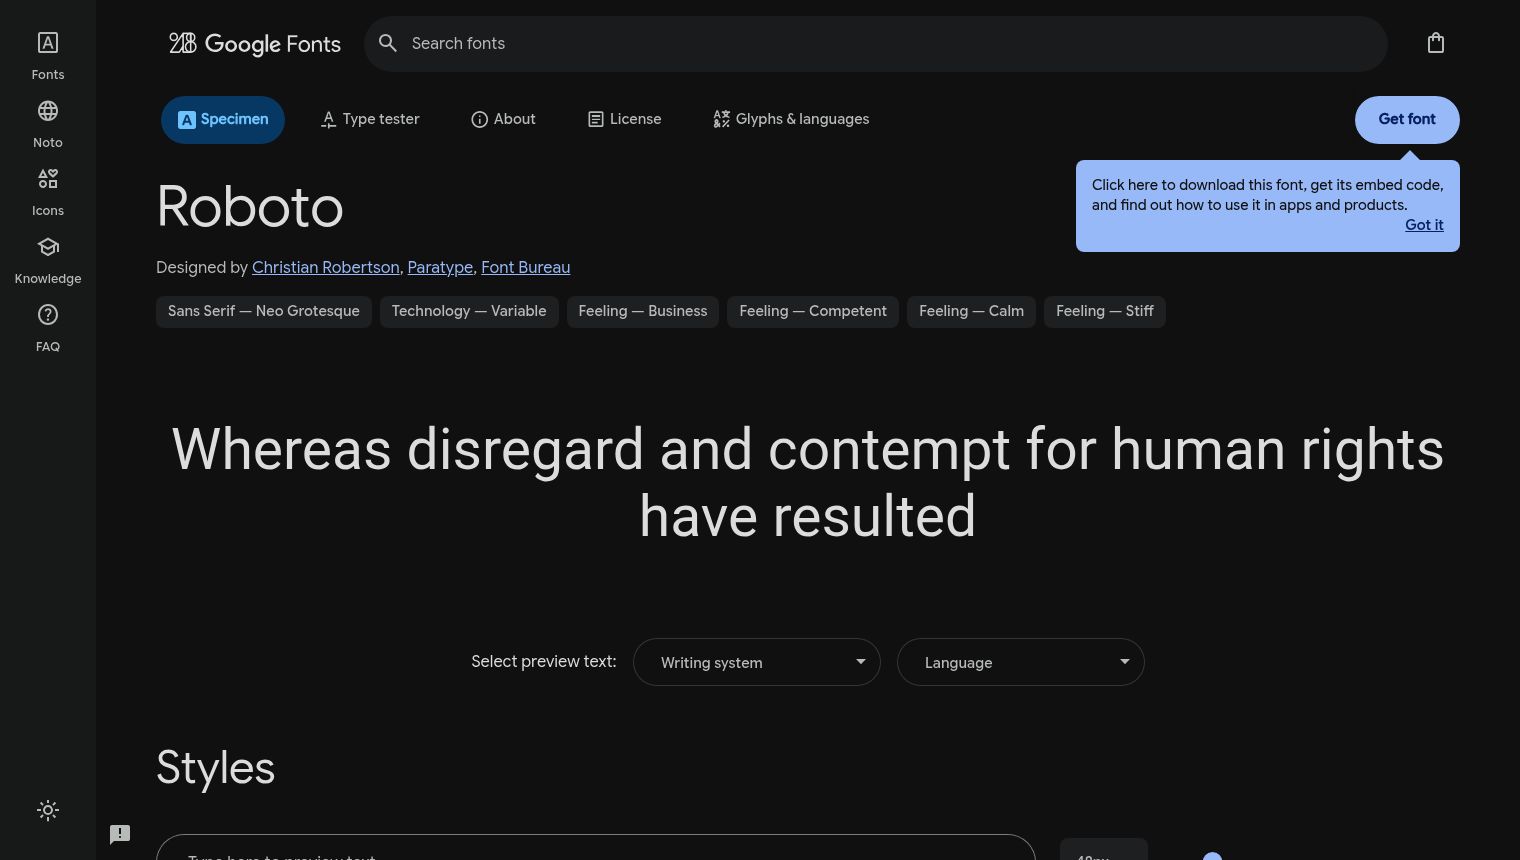
Google Fonts:
Visit Google Fonts
Browse or search for your desired font
Click on the font name to view its detail page
Click the Get font button
Copy the
<link>embed code provided

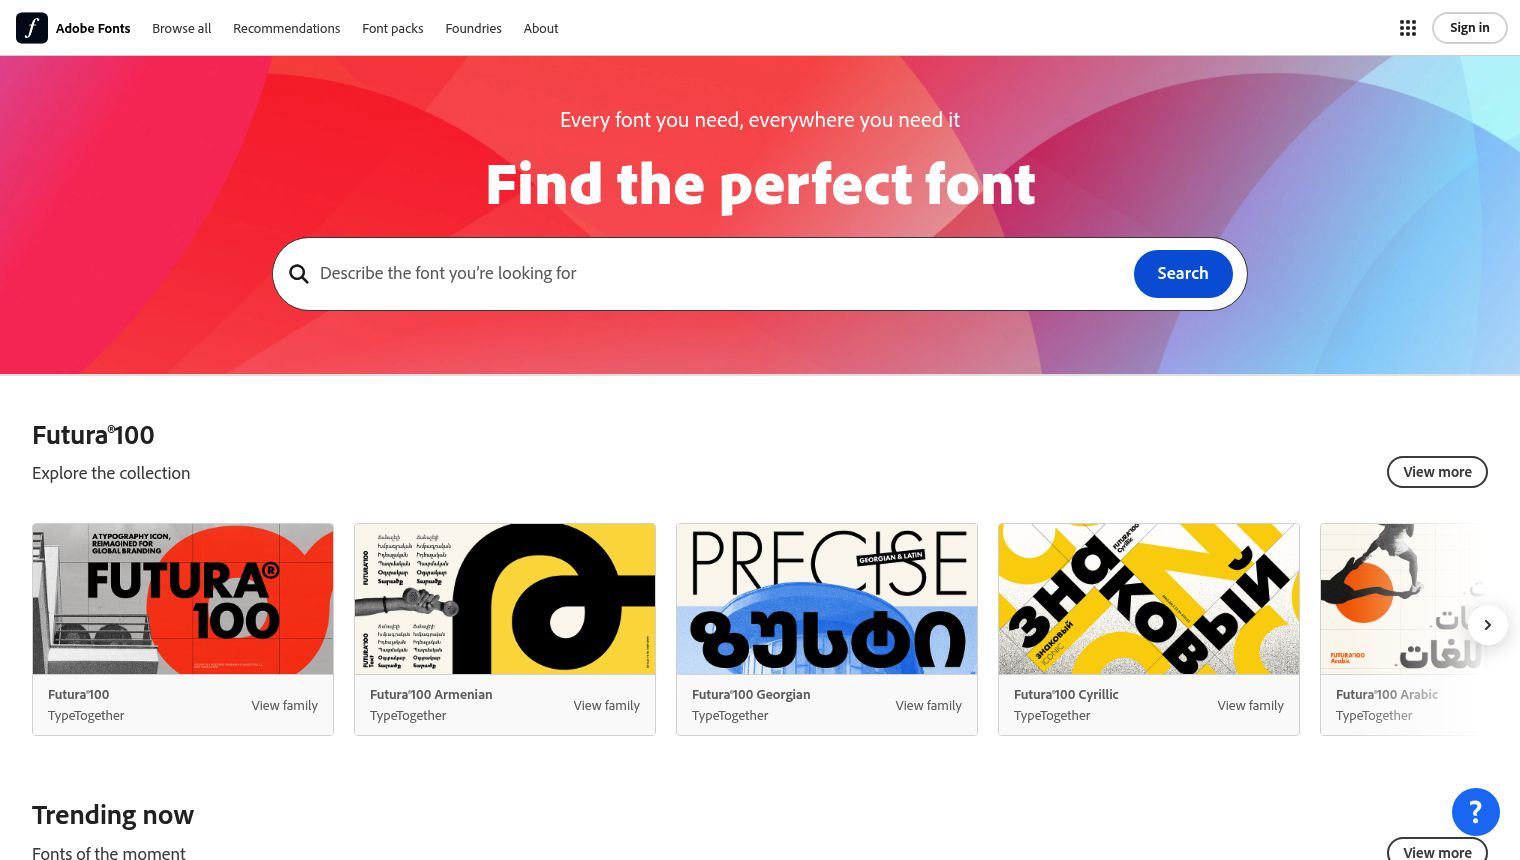
Adobe Fonts example:
Visit Adobe Fonts and sign in
Browse fonts and add them to a web project
In your web project settings, copy the
<link>embed code
Self-Hosted Fonts:
Create a @font-face rule referencing your font files:
<style>
@font-face {
  font-family: 'CustomFont';
  src: url('https://yoursite.com/fonts/customfont.woff2') format('woff2'),
       url('https://yoursite.com/fonts/customfont.woff') format('woff');
  font-weight: normal;
  font-style: normal;
}
</style>
Use WOFF2 and WOFF formats for best browser compatibility and performance. Host font files on a reliable CDN or your own server.
Step 2: Add the Embed Code to Head Code
Expand Help Center in the sidebar, then click Customize
Open the Advanced panel
Locate the Custom head code editor
Paste your font embed code (the
<link>tag or<style>block from Step 1)Click Save changes
The Head Code editor does not validate syntax before saving. Test your code carefully to avoid breaking your help center styling.
Step 3: Apply the Font via CSS
After embedding the font, add CSS rules to apply it to specific elements:
<style>
/* Apply custom font to all headings */
h1, h2, h3, h4, h5, h6 {
  font-family: 'Your Font Name', sans-serif;
}

/* Apply custom font to body text */
body, p {
  font-family: 'Your Font Name', serif;
}
</style>
Add this CSS to the same Custom head code editor, either within the same <style> block as your @font-face declaration or in a separate block.
Changes take effect immediately after saving. Visit your live help center to confirm the fonts display correctly.
Troubleshooting
Fonts not loading:
Verify the embed code syntax is correct (no missing quotes or brackets)
Check that font URLs are publicly accessible (CORS-enabled for self-hosted fonts)
Ensure font family names in CSS match exactly (case-sensitive)
Typography picker shows "Unable to load fonts":
Refresh the page and try again
Use the Head Code method as an alternative
Save configuration failed:
Check for syntax errors in your Head Code
Remove recently added code and try saving again to isolate the issue
Best Practices
Limit font weights: Only load the font weights you actually use to improve page load speed
Use font-display: Add
font-display: swap;to prevent invisible text during font loadingTest across devices: Verify fonts render correctly on desktop and mobile browsers
Provide fallback fonts: Always specify generic fallbacks (e.g.,
sans-serif,serif) in your font-family declarations
Additional Resources
MDN Web Fonts Guide - Comprehensive guide to web font implementation
MDN @font-face Reference - Technical details on self-hosting fonts
DigitalOcean: How to Load Custom Fonts - Step-by-step tutorial for all font sources