
Managing your workspace settings
Your workspace settings control everything from your help center's branding to team access and billing. This guide covers how to access and configure each settings category.
Accessing workspace settings
To open your workspace settings:
Click Settings in your dashboard sidebar
Select a category from the inner sidebar (General, Billing, Usage, Team, etc.)
Make your changes and click the save button
General settings
Update your workspace name, logo, and website URL. These details appear in your help center and across the Ferndesk platform.
To change these settings:
Go to Settings > General
Edit your workspace name, upload a new logo, or update your website URL
Click Update workspace

If you need to manage multiple workspaces, see Manage multiple workspaces.
Billing and usage
Monitor your subscription plan and publish credits usage:
Billing - View your current plan and subscription details
Usage - Track how many publish credits you've used this month
Learn more about Ferndesk's credit system in What are publish credits? or How to buy publish credits.
Team management
Add collaborators and manage team member access from Settings > Team. You'll see a list of current members and can send invitations to new users.
Only workspace owners and admins can invite team members.
For step-by-step instructions, see How to invite team members to Ferndesk.
Customizing Fern AI
Tailor how Fern creates and updates your documentation:
About You - Add context about your company that helps Fern understand your product
Customize - Provide specific instructions for drafting and research behavior
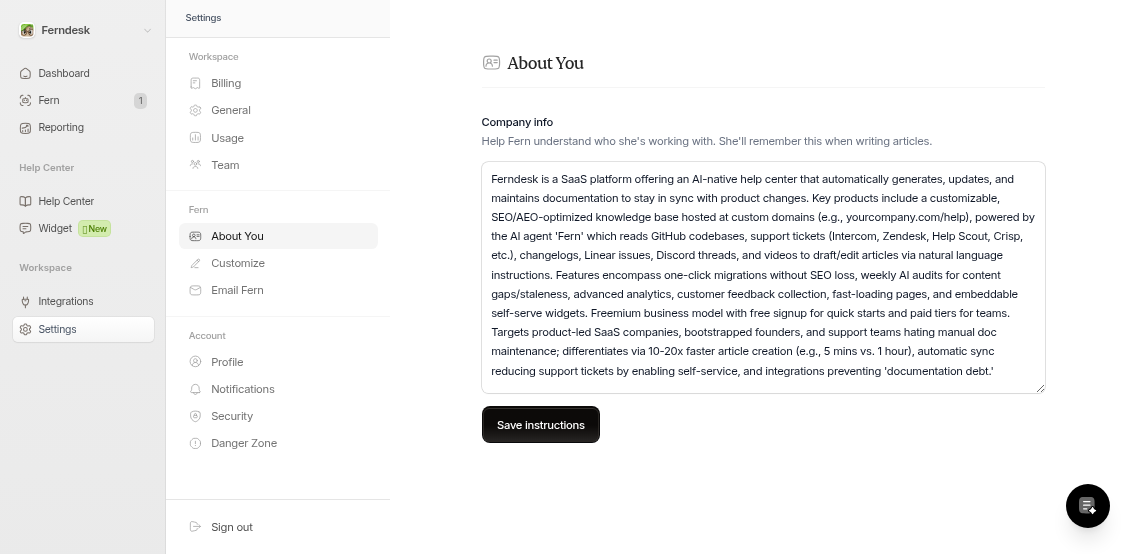
These settings help Fern generate content that matches your voice and technical requirements.
Account settings
Your personal account settings (profile, notifications, security) are managed separately. See Managing your account settings for details.
Settings are organized by scope: workspace-level settings affect your entire team, while account settings are personal to you.
Related settings
Some configuration happens outside the Settings menu:
Custom domains - Connect your own domain via the dedicated setup flow (see Connect a custom domain to your help center)
Integrations - Access via the Integrations link in your dashboard sidebar