
Manage multiple workspaces
Workspaces let you isolate knowledge bases, team members, and settings for different products or brands. Each workspace has its own help center, integrations, billing, and content. This is perfect for companies with separate product lines.
Each workspace operates independently with its own billing plan and trial period. You can switch between workspaces instantly from the sidebar.
Create a new workspace
You can create additional workspaces anytime from your dashboard:
Click the workspace switcher in the sidebar at the top-left.
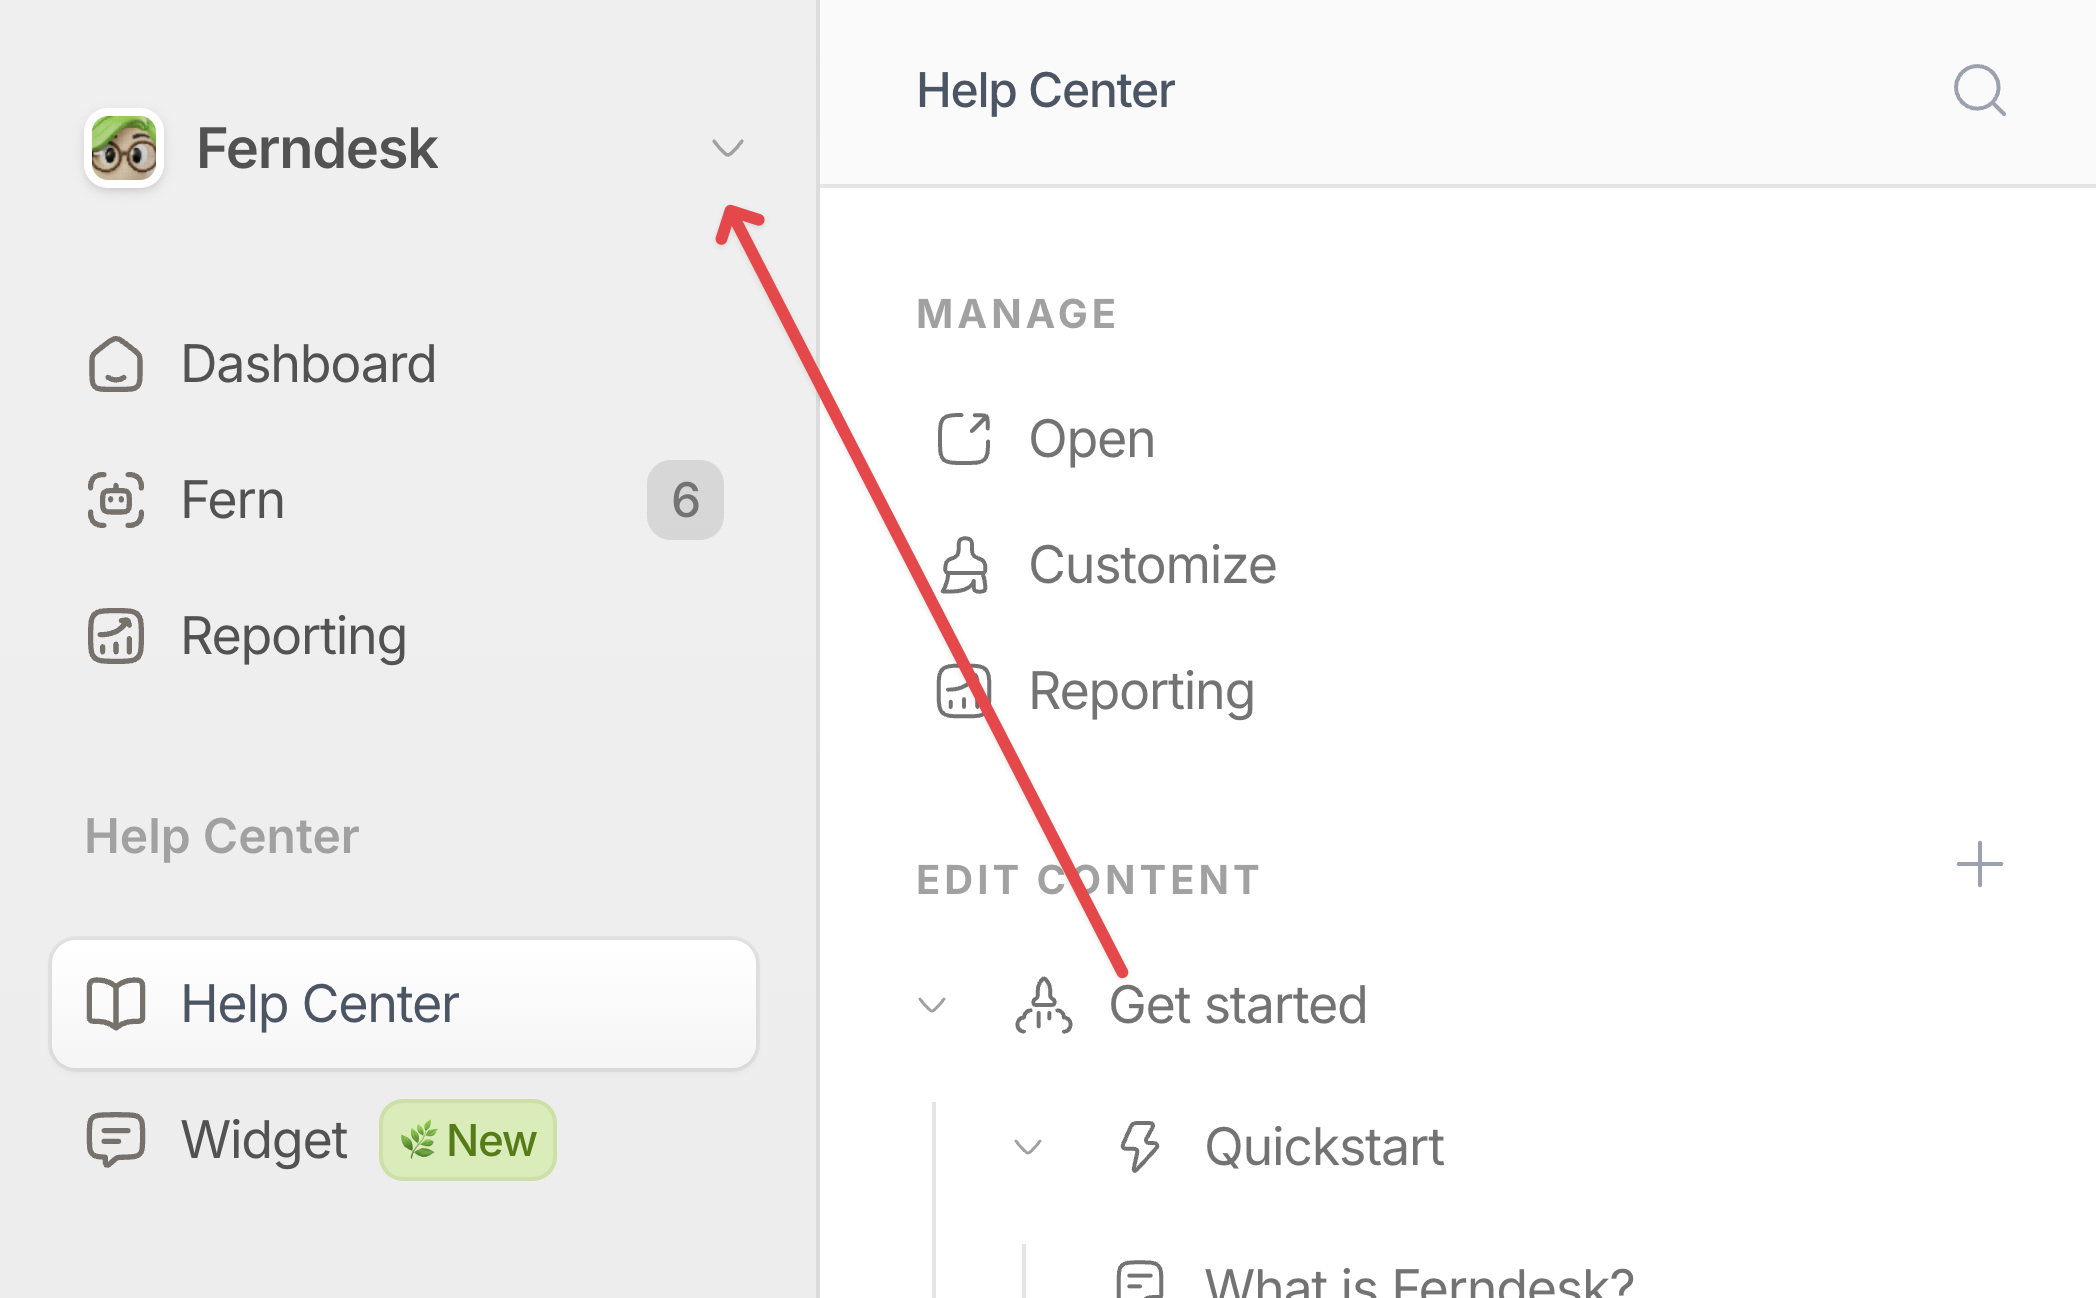
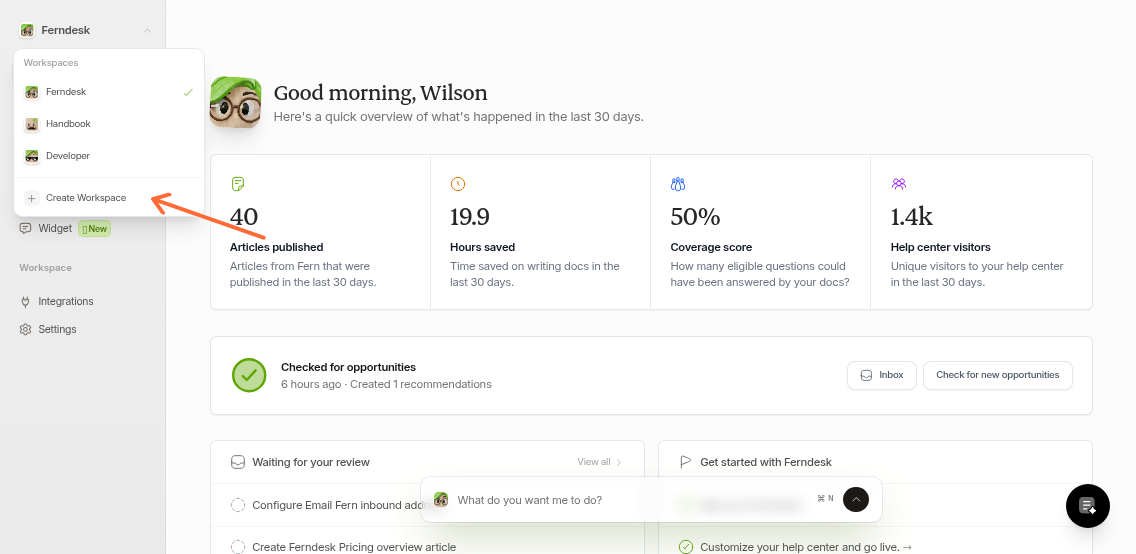
Select Create Workspace from the dropdown menu
Fill in the required fields:
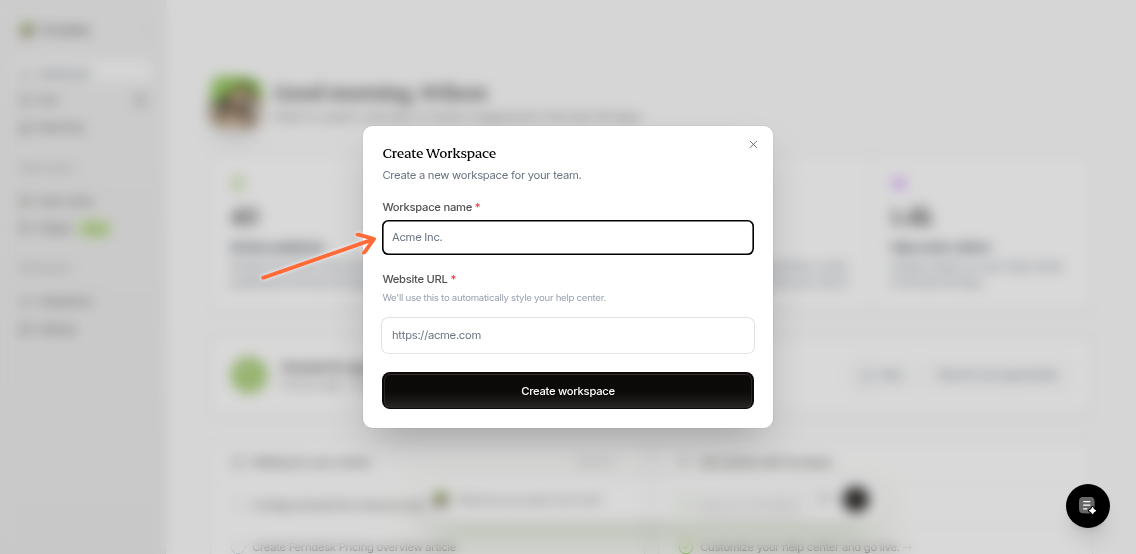
Workspace name: The name of your product, brand, or team (e.g., "Acme Inc.")
Website URL: Your product's website. Ferndesk uses this to automatically match your help center's branding
Optionally upload a Workspace logo to customize your help center's appearance
Click Create workspace
After creation, you'll be redirected to the new workspace's dashboard. A success notification confirms the workspace is ready.
Billing is workspace-specific. Each workspace requires its own payment method and subscription plan, even if managed by the same person.
Switch between workspaces
The workspace switcher appears in your dashboard sidebar, showing your current workspace's logo and name:
Click the workspace switcher
Select any workspace from the list
The dashboard reloads and switches to the selected workspace
All content, settings, and team members are workspace-specific, so switching workspaces changes everything you see in the dashboard.